Citrix Performance Monitoring with Goliath Technologies

Introduction and Preamble
As many of you in the End User Computing (EUC) space know, a ton of third-party solutions are available on the market today to keep eyes on your EUC infrastructure. For many of us, the only tool available to us is what is supplied with the brokering technology, for us Citrix users, that comes in the form of the Citrix Director. While Director, is a good starting off point, it is nowhere near as granular as it could be. Some of the more advanced monitoring and retention options are locked behind premium or platinum licensing.
It’s for this reason, I have decided to put Goliath’s End User Experience monitoring solution through its paces. The first thing we obviously need to do is install the bits (software). Goliath ships with the traditional server/agent model, and thus we need to install the product on a monitoring server (along with a database), and install an agent, ‘pointing’ at said monitoring solution.
Installing Goliath Server Components
I will be installing Goliath Management piece on a fully patched version of Windows Server 2022.
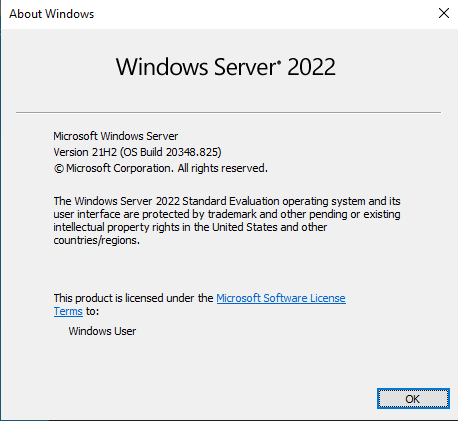
For the Goliath software, I will be installing build 12.0.0.1, which was released in May 2022.
image406×541 13.9 KB
The installer weighs in at a hefty 1.16GB, so if you are on a slow connection, it might take a good chunk of time to get everything downloaded. So, onto the install.
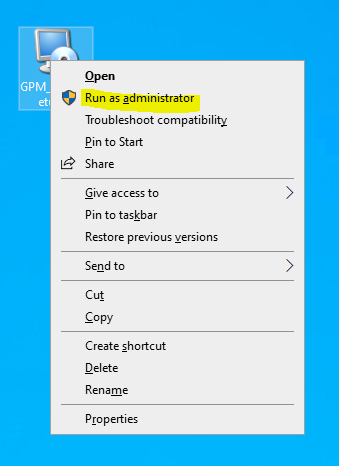
Like any piece of (known and trusted) software that you are installing, I highly recommend you right click on the exe, and run it as administrator. To avoid some complications down the road.
That kicks off the Goliath Performance Monitor installation
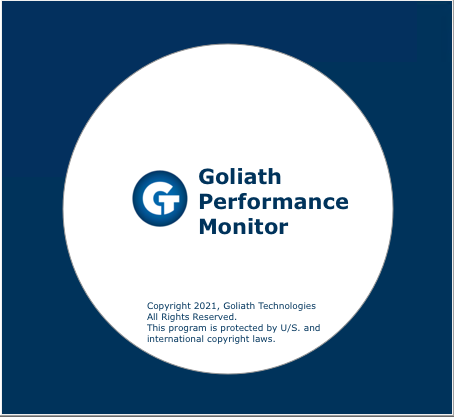
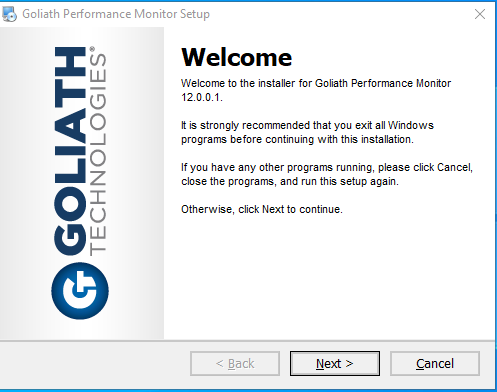
After the splash screen, we are brought to the first interactive screen of the install. It’s just telling us the version that we are installing, and to close any other windows that might be open. Pretty standard stuff.
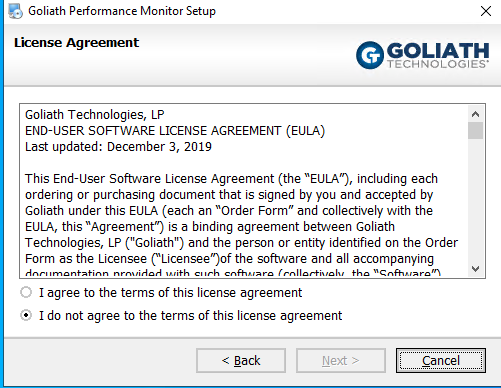
Then we have the EULA. Lawyers need to get paid right?
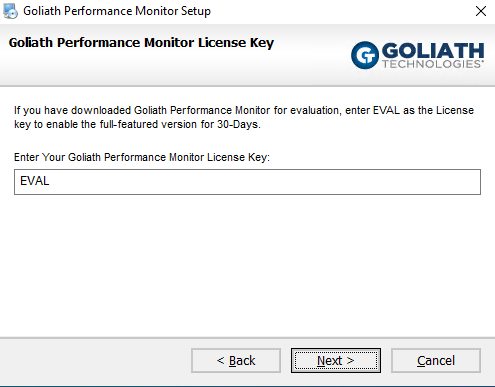
Now we need to enter the license key. If you have purchased Goliath Performance Monitoring, you would enter your key here. If you are evaluating, then proceed with the EVAL key as seen here.
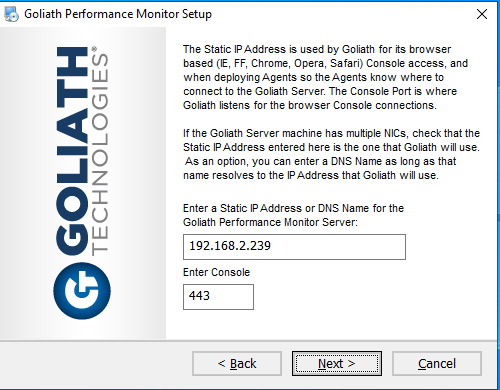
Once you have entered your license key, you need to set up the IP address and port that the Goliath server machine will use. The static IP address is used by Goliath for browser-based (Internet Explorer(?!?!?!), Firefox, Chrome, Opera, and Safari Console access, and when deploying agents so the agents know where to connect to the Goliath Server. The console port is where Goliath listens for the browser Console Connections.
If the Goliath Server machine has multiple NICs, check that the Static IP address entered here is the one that Goliath will use. As an option, you can enter a DNS name as long as that name resolves to the IP address that Goliath will use.
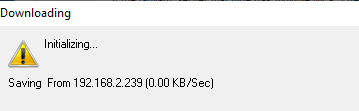
Time for some downloading awesomeness.
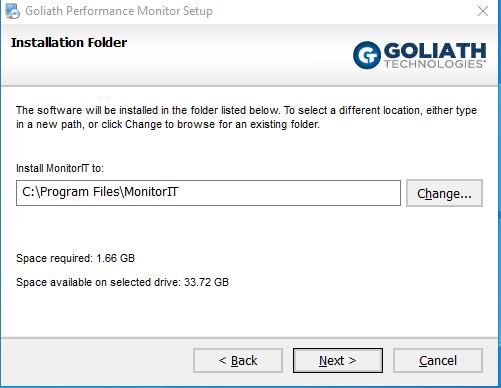
Now, onto where we want to install the actual product. For me, the default is fine, so I am going to stick with that.
Now, here is the option where you can choose your database. For this document, I am going to use the default embedded SQL express. If you guys want to see the product installed with a full Remote SQL server, let me know in the comments, and like Captain Picard - I will make it so.
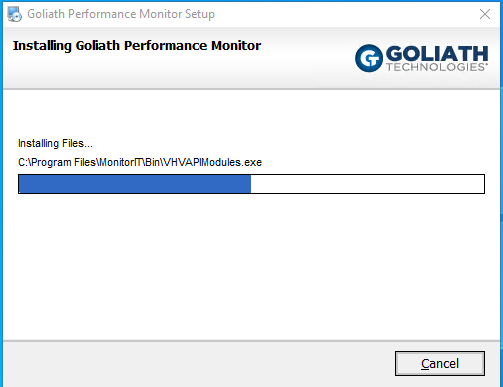
Now, let’s confirm a few things, before we let the installer do it’s thing.
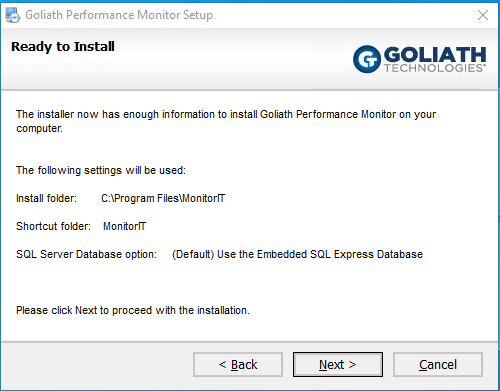
All, looks good to me, so hit next. And wait.
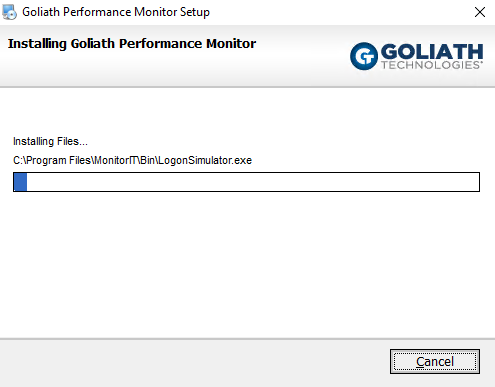
And wait.

And wait.
Almost there.
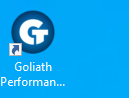
New icon alert! This just appeared on the deskop!
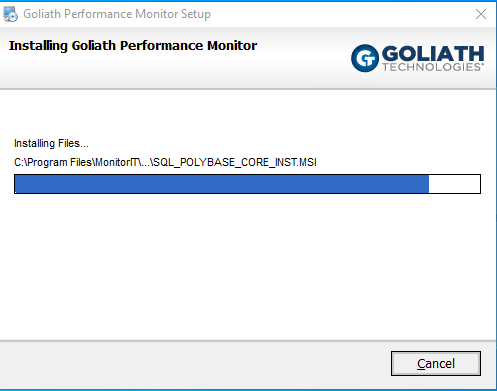
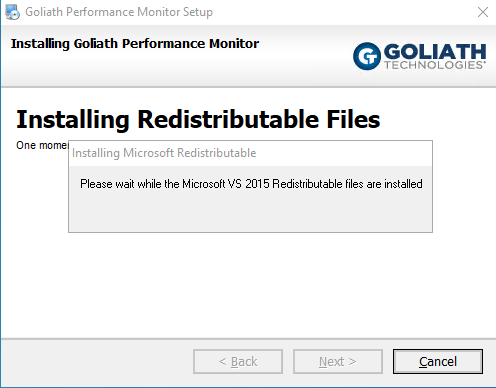
Now SQL needs to do it’s thing.
All told, it probably only took 10 minutes to install the software, and the majority of that time was taken up by the SQL install, so if you plan to connect to a remote SQL server, that install time will be in the 3-4 minute range I am guessing.
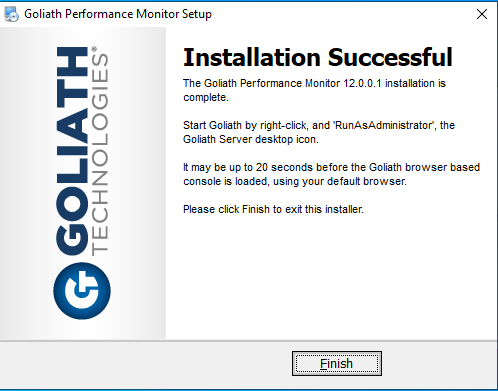
Now that the product has been installed, time to open the console and begin configuring. So let’s click on that brand new icon on our desktop. As this is a brand new install of Windows Server 2022, the default browser that launches is Internet Explorer (gross).
After a few behind the scene tweaks, the application is now running on Microsoft Edge. If we ignore the certificate warning in the address bar, then we are good to go. The product is installed.
Configure Goliath Monitoring Platform
Now that the product is up and running, let’s connect it to our hypervisor. To do this, hit settings in the top right of the console, which brings us to… You guessed it, settings!
As we are running VMware as our hypervisor, I am going to click on Configure VMware Virtual Environment.
We want to add our vCenter server to the monitoring platform so we click on add.
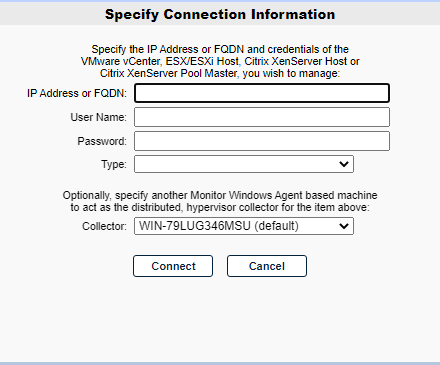
Enter your vCenter server information, and connect.
If all goes as planned, you should see something similar to this.

Now that (in my environment), there are two hosts, we need to assign licenses to these hosts.
One final step before we have completed the VMware is to optionally install the MonitorIT console as a plugin to vCenter. It sounds like, fun, so let’s get that installed.
Once you click on the install plugin to vCenter you get a pop up asking you to confirm your vCenter information. If all looks good, click on install.

image753×128 2.42 KB
image757×89 1.4 KB
Now that we have some data in the Goliath Performance Monitoring Solution, we should see some entries on the dashboard, and sure enough, we do!
Installing the agent on a Citrix VDA
The purpose of the article is to help me monitor my Citrix environment, so it is time to get on with installing the Agent on some of my VDA boxes to help me troubleshoot some performance issues.


Comments ()