Now that we have all settled into our new normal of working from home due to Covid 19, I thought it would be a good idea to write up how we “burst” to AWS and their Workspaces product using our IGEL desktops. Easy peasy!
There are a few prerequistes that need to be in place to ensure that this is successful.
- IGEL provided AWS Workspaces Custom Partition
- Thin client running IGEL OS 11.3.500
- An AWS account, with access to “spin up” AWS workspaces
Let’s get going!
The first think we need to do is get that Workspaces Workstation spun up in the cloud. This process takes anywhere between 10-15 minutes, so best that we start that process first.
Login to your AWS console, and browse to the Workspaces Service area, click on Launch Workspaces.

You will then need to create a directory - I chose an Amazon hosted directory where our user accounts will live. You CAN connect AWS workspaces to your on prem (or Azure AD) Active Directory, however it is beyond the scope of this blog post. And it is not free!
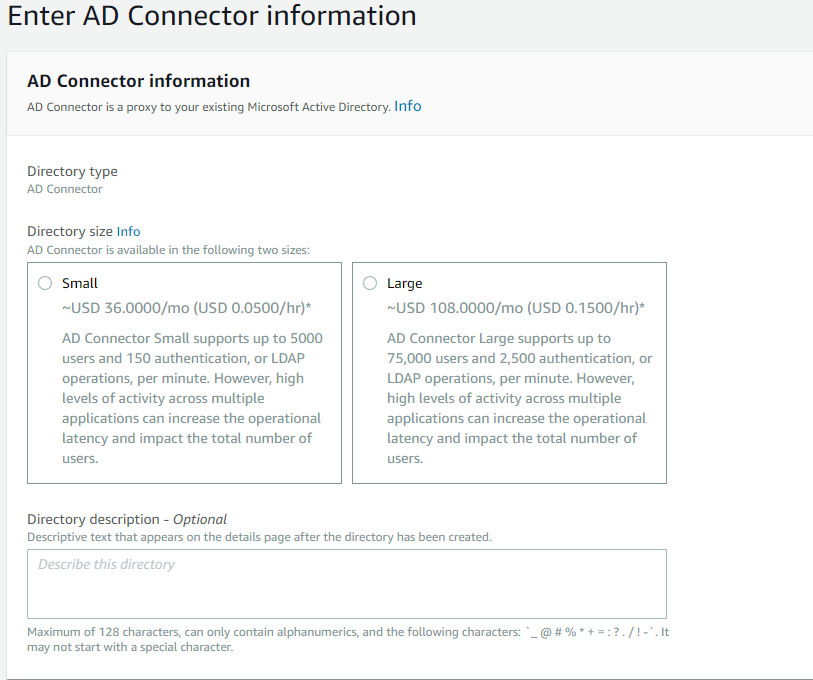
Once your directory has been created, and you have added users, you can provision a Workspace. As I am cheap, I have chosen Standard with Windows 10, as it is eligible for the free tier.

This Workspace comes with 2vCPU and 4GB of RAM, which should be enough for most task workers. Follow the AWS prompts to launch the Workspace. While we are waiting for the AWS environment to boot, we turn our attention to the IGEL environment that will broker the connection to AWS.
In IGEL UMS I created a directory for my thin clients that will be configured to point to AWS. I gave it a super clever, original name.
![]()
Now, we need to move on with setting up the custom partition. Below are the official instructions from IGEL.
How-to use IGEL custom partitions
IGEL custom partitions are delivered as a zip archive. The archive has the following content:
-igel : folder containing patches and UMS profiles
-target : folder containing Custom Partition (inf and tar.bz2 files)
-disclaimer.txt : disclaimer note
-readme.txt: Short Installation guide
Steps to deploy the Custom Partition
- Copy the contents of the folder target into the ums_filetransfer folder on the UMS Server (e.g C:\Program Files (x86)\IGEL\RemoteManager\rmguiserver\webapps\ums_filetransfer)
- Check the accessibility of the data using Internet browser. (e.g: https://:8443/ums_filetransfer/workspacesclient_3.0.1.234.inf
- Import the profile (profiles.zip) into the UMS via: “System->Import->Import Profiles”. The imported profile should now appear in UMS under Profiles.
- Edit the profile and adopt the settings according to your environment under System->Firmware Customization->Custom Partition->Download
a. https://:8443/ums_filetransfer/workspacesclient_3.0.1.234.inf
b. Username:
c. Password:- By default the workspacesclient_3.0.1.234 is started with this command line:
workspacesclientAssign the profile to Thin Client(s).Restart the TC after deployment of the CP.You can find further information at www.igel.com
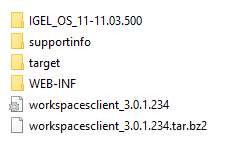
So, step one is to move the contents of the “folder target” into the ums_filetransfer folder on your UMS box. The instructions above assume that you are using Windows to host UMS. After following step one, here is what my ums_filetransfer folder looked like.
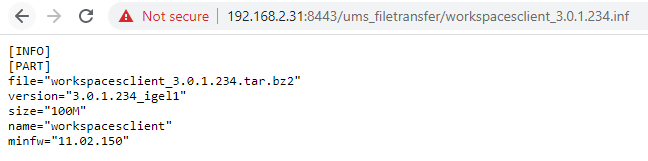
Step two of the instructions are very important, as if you cannot read the .ini file, none of this will work. You should be prompted for credentials. If you are using a single UMS admin account, enter it here. You should see something that looks just like this.
For step three, we need to go into the UMS and import the actual profile. In the IGEL instructions, it says to upload the profiles.zip file. This does not work. You will get an error that says "Unable to import profiles from profiles.zip: null
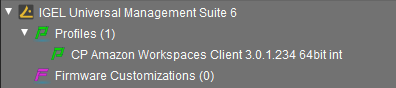
What we need to do is extract profiles.zip to get at the meat (the .xml file). You should upload that profiles.xml file to UMS. UMS should be WAY happier with this, and show you the following screen.


You should now see the profile registered correctly in UMS.
Step 4 of the IGEL instructions are pretty vague, so here is what I had to do to get it to work as expected.
- Drill into System - Firmware Customization - Download.
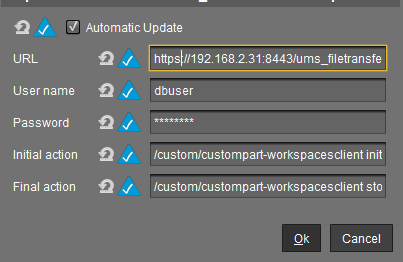
- Edit the partition data source
- Enter the details of YOUR UMS environment here. The only fields you should have to edit are the URL, Username, and password fields. Once done, click OK.

WARNING The default protocol setup in the download information is HTTP. You need to change this to HTTPS or the download will fail.
From here it is as simple as adding the profile to the thin client directory that we created earlier. Here is what that looks like “live”.
Now that the custom partition is installed, let’s access that AWS workspace that we provisioned earlier.
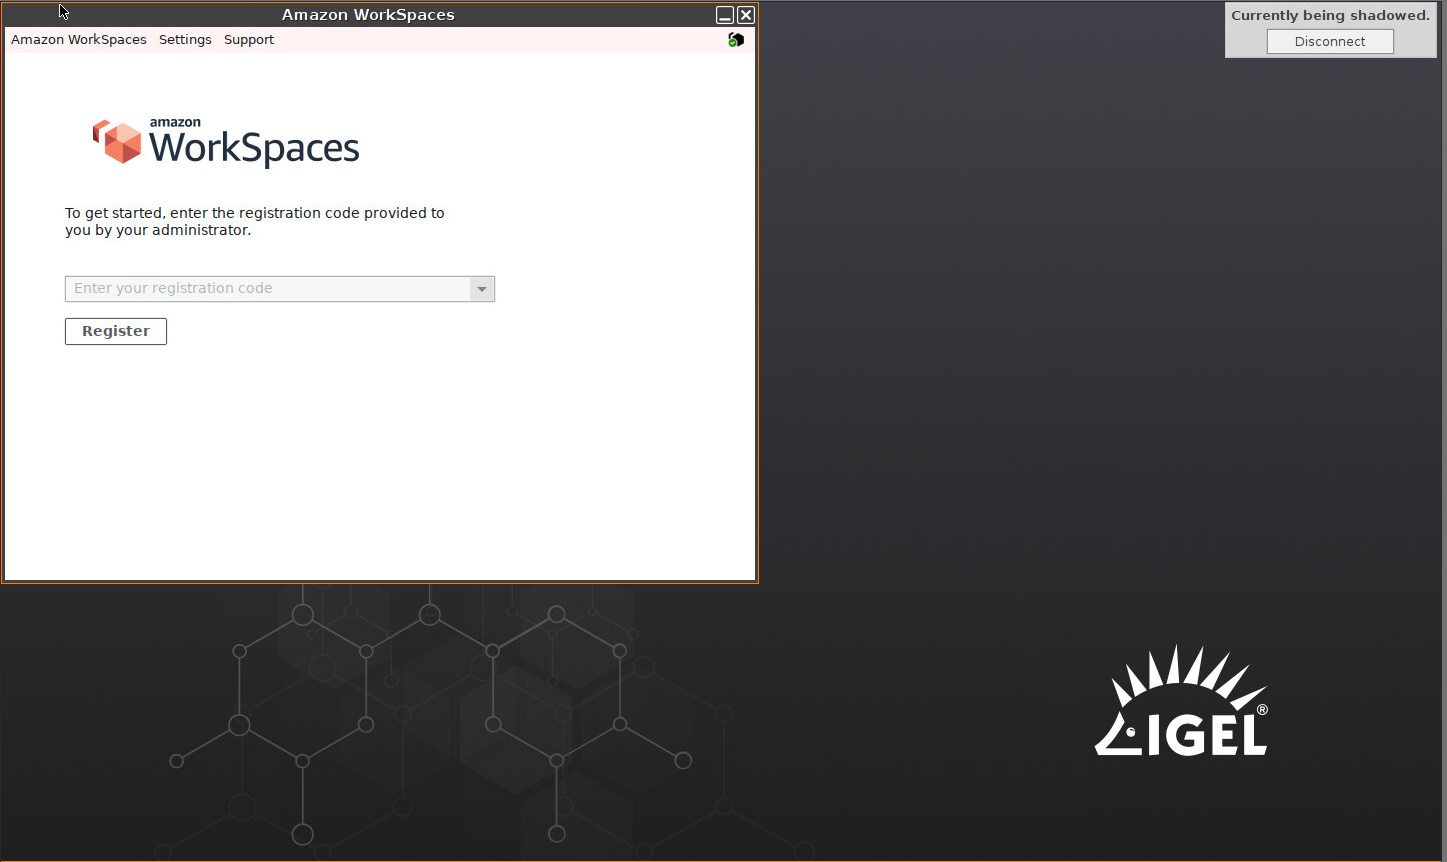
Enter the registration code that was emailed to you by AWS. Once you have successfully registered, login using your credentials.
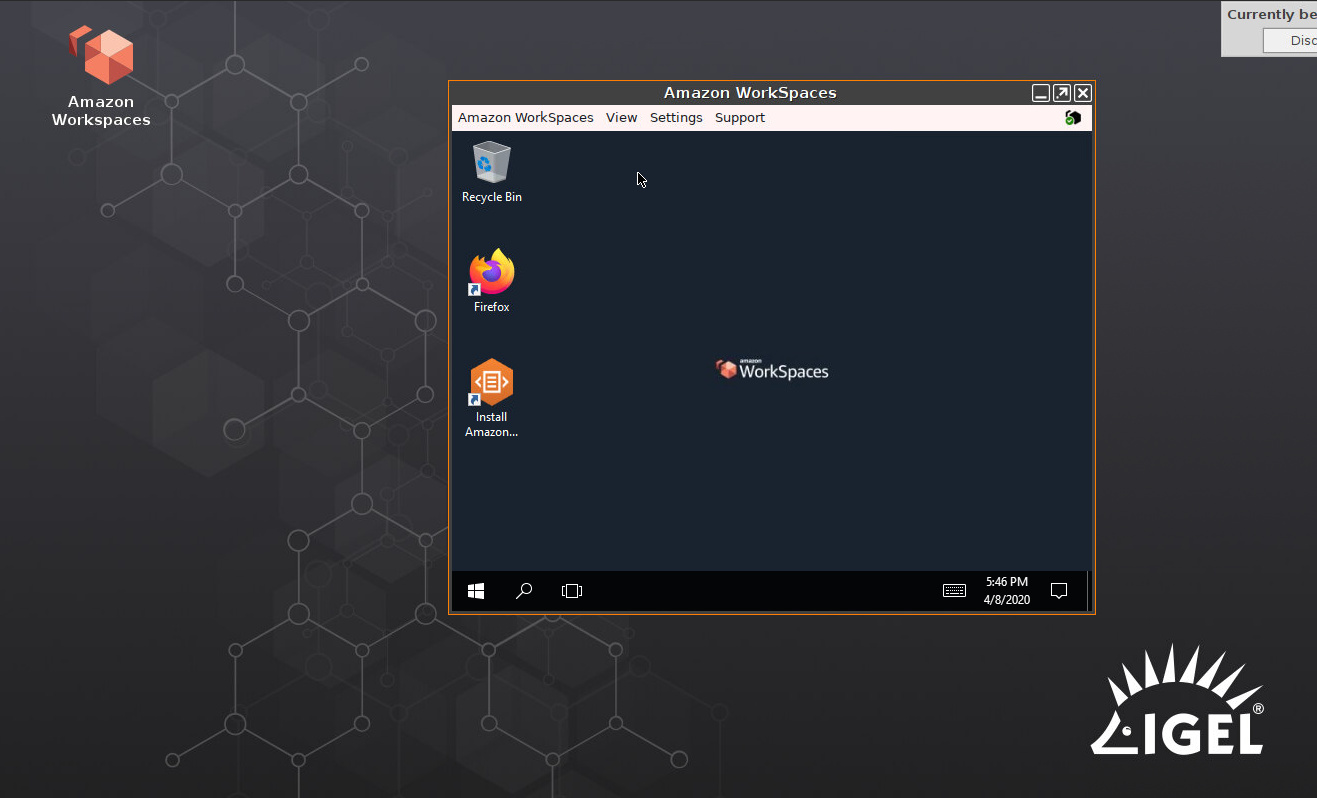
There you have it - a desktop in the cloud.