Install Windows 11 in VMware Workstation (Virtual Machine)

Today is the day. The day that Windows 11 is released to the unwashed masses. So, first thing I want to do it put it’s through it’s paces in a virtual machine environment. I am not crazy enough to install a brand new operating system on my main PC. After all the Battlefield 2042 open beta starts tomorrow, and I need it to be smooth!! So onwards.
Obviously the first thing we need to do is grab the installer from our friends at Microsoft. The ISO file can be found at this URL. Scroll right to the bottom, and you will see Download Windows 11 Disk Image (ISO).
Choose Windows 11 (it’s the only option, so I wonder why there is a dropdown menu here in the first place)
image769×198 11.5 KB
Click the Download button
It then prompts you to choose your language
Click confirm.
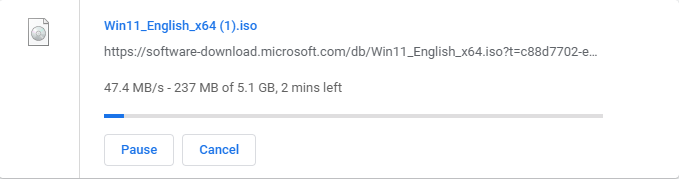
At that point you are given a download link that is valid for 24 hours. The ISO starts downloading.
While it is downloading, fire up VMware workstation to begin the prep work. In workstation, go to file, and select new virtual machine.
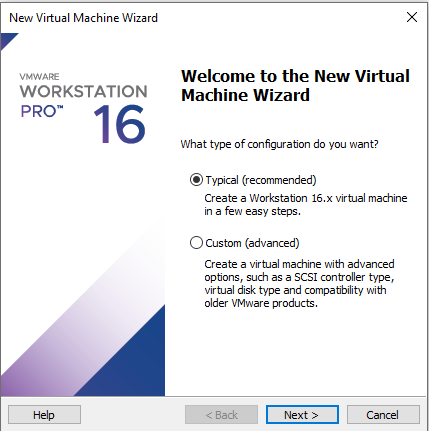
We are going to choose a typical install and hit next.
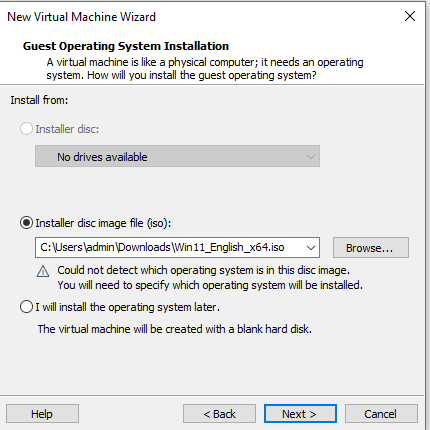
On this screen you need to choose the middle option (Installer disc image file (ISO), and select the browse button, and browse to where you saved the ISO file, and hit next.
Now we need to choose our Operating System. Select Windows 10 x64 (Windows 11 is not an option yet in this build of VMware workstation, which is the most current as of this writing.
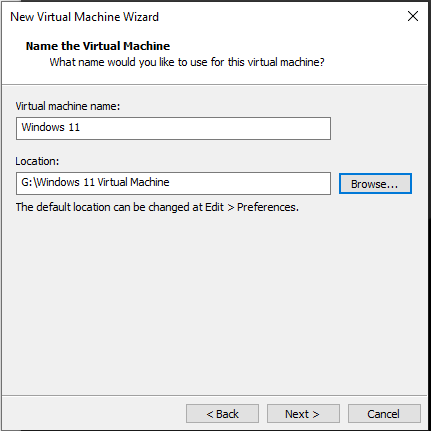
From here we need to give our Virtual Machine a name and location. As you can see from the screenshot, I am quite creative when it comes to my naming convention.
We are going to take the default settings for disk space.

We now need to customize the hardware, no way will Windows 11 perform well with the default of 2GB of memory, so we are going to increase that to 8GB.
Click finish to save your changes. Lets fire up the new OS to see what is in store for us. Click that play button on VMware workstation.
Well, this has not changed much over the years!

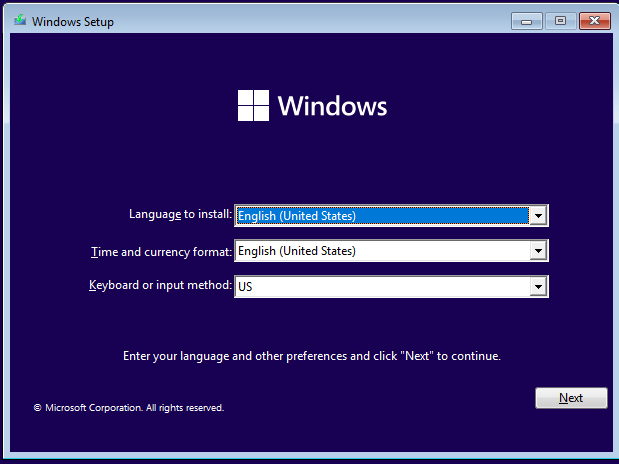
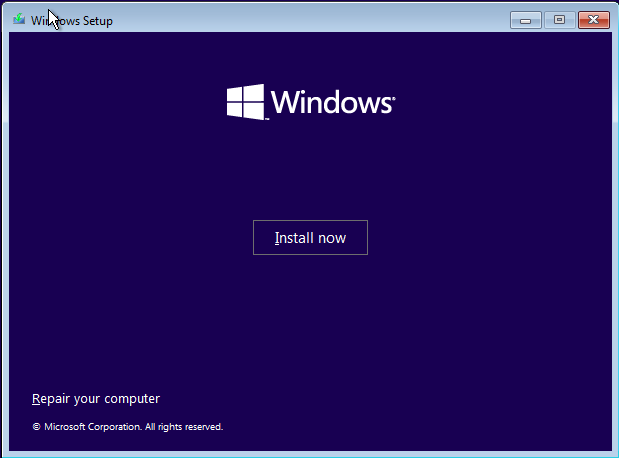
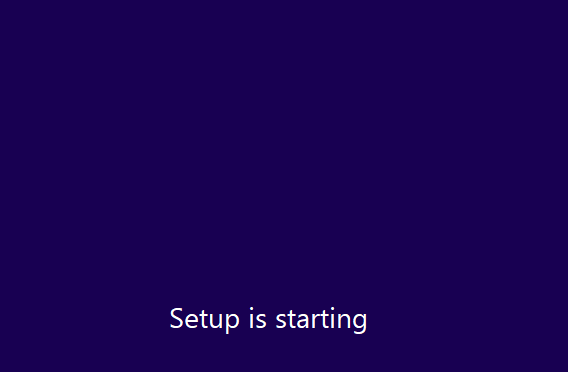
Here is the bootsplash screen followed by the Windows Setup Screen
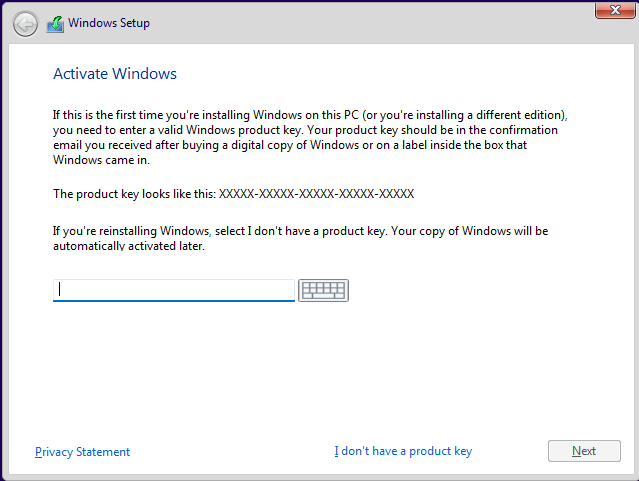
When you get to the activation screen, choose I don’t have a product key
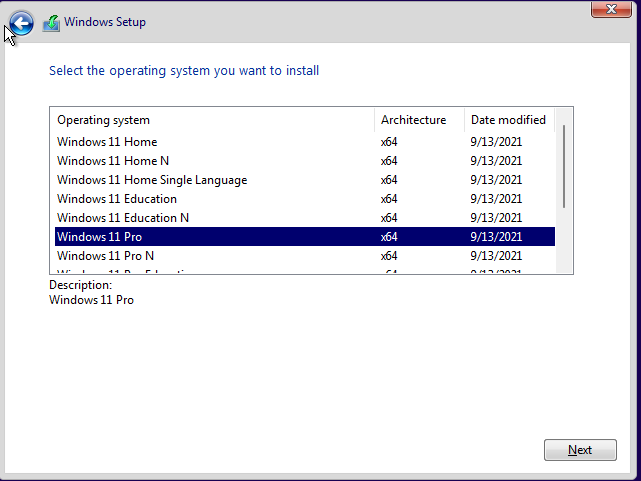
Now we need to choose the version of Windows 11 that we want to install. I am going to choose Windows 11 Pro
Bam! We can’t install Windows 11 on this PC!
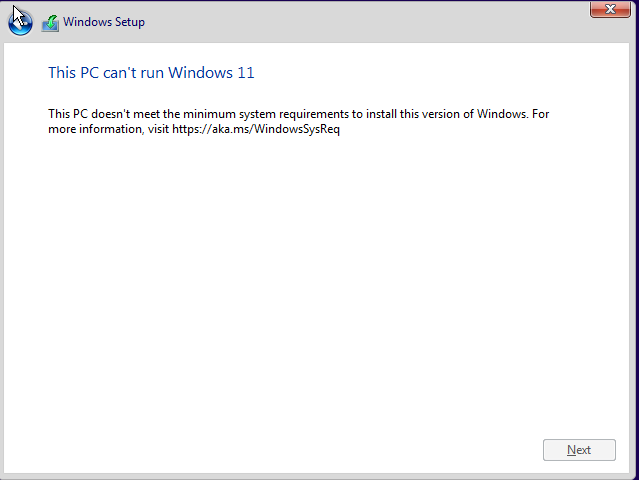
Let’s head to the URL to determine why.
This line sticks out like a sore thumb.
TPM is not enabled by default on new virtual machines in VMware workstation, so there are a couple of things that we need to do.
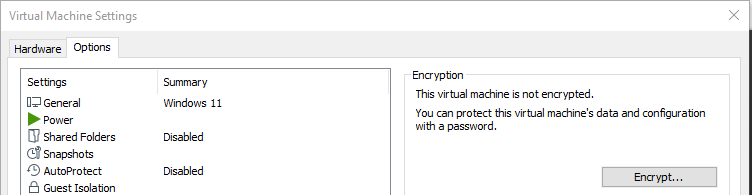
We need to encrypt the virtual machine so that we can add a Trusted Platform Module. To do this, power off the VM, and go to the settings of the virtual machine. In the options tab, choose access control. We need to encrypt the VM and give it as password.
image752×195 7.44 KB

It should now look like this if the encryption was successful.
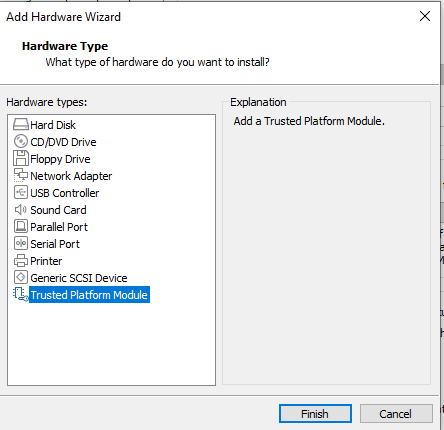
- Now we need to add a Trusted Module Platform chip to our VM. Still in the settings of the VM, flip to the hardware tab, and select add at the bottom.
image326×735 8.27 KB
Choose Trusted Platform Module and Finish.
Now, let’s fire up that VM again. As you can see, we no longer get the error when attempting to install Windows 11 on a virtual machine.
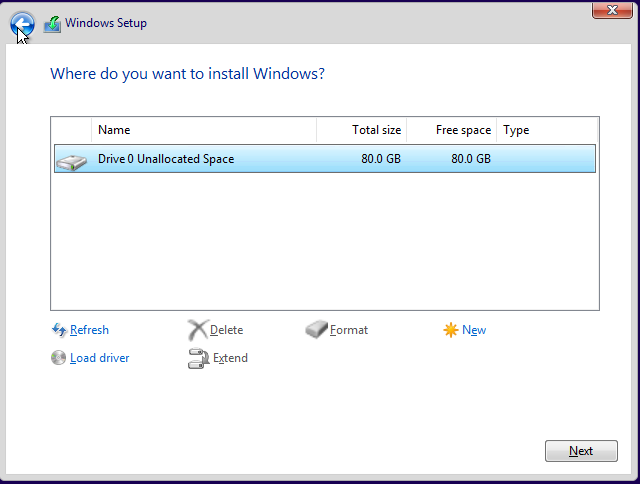
Now we must choose where we want to install Windows 11.
And we are off. Windows 11 is now installing on a Virtual Machine on VMware workstation.
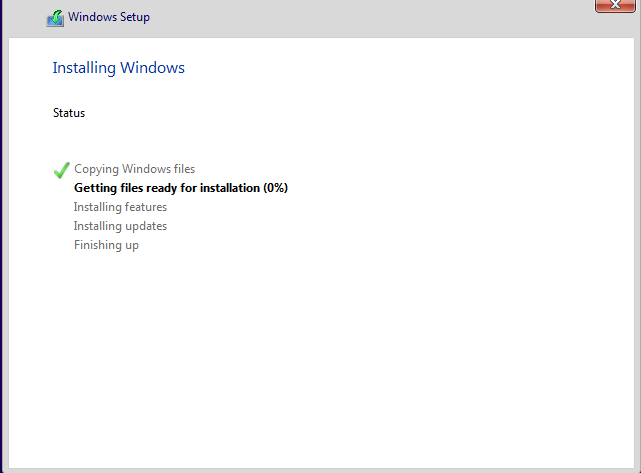
image421×502 6.64 KB
image535×539 8.86 KB
image376×587 8.54 KB

You must now choose your country.
image1024×769 55.9 KB
Choose keyboard layout
image925×667 59.5 KB
image929×665 54.2 KB
The Windows 11 installer now checks for updates.
image924×666 44.8 KB
image922×666 45.4 KB
image922×665 44.6 KB
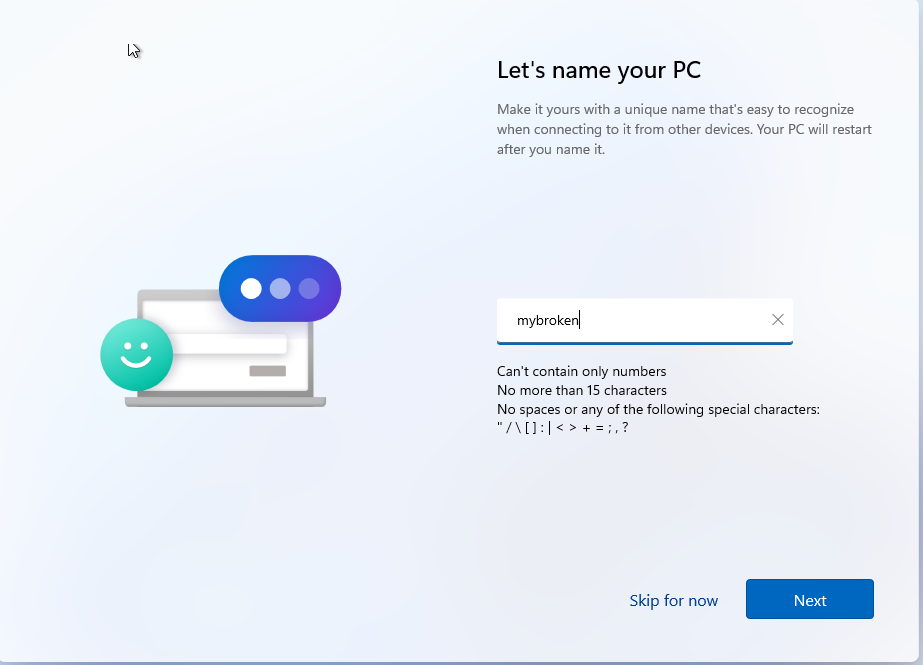
Now we need to name our machine
image923×665 69.4 KB
After renaming the PC, the Windows 11 virtual machine reboots, and then asks us how we plan to use the device. As I do not want to use a Microsoft account, I am going to select setup for work or school.
image920×665 59.4 KB
Enter the name of the user who will be using this Windows 11 VM
image920×671 56.5 KB
Create a super memorable password for the user you are creating
image921×662 54.1 KB
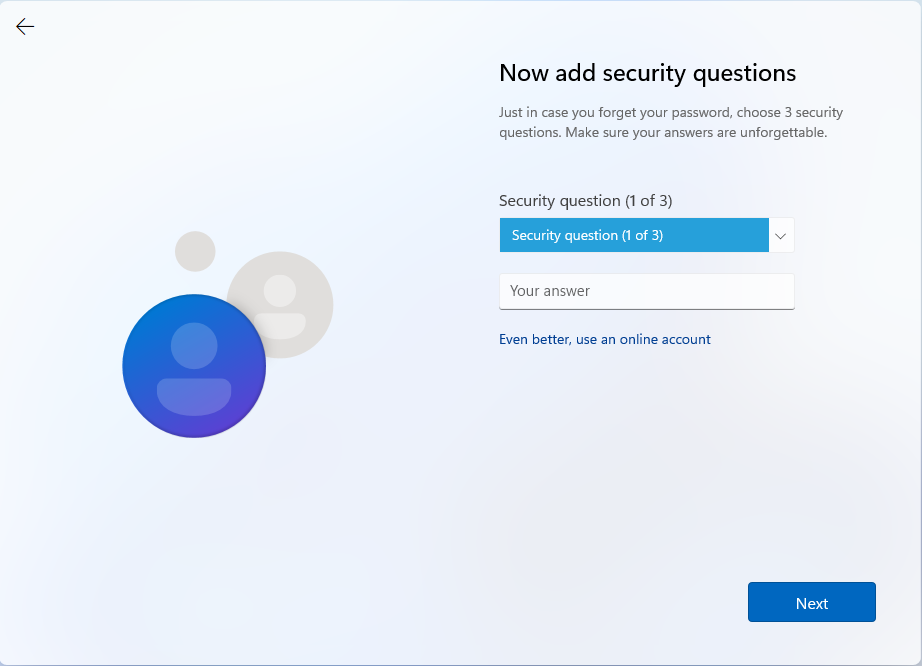
Choose your security questions that you will use in case you forget your super memorable password. We need top choose three.
image922×666 58.7 KB
Choose the appropriate privacy settings for your Windows 11 virtual machine
image922×668 86.4 KB
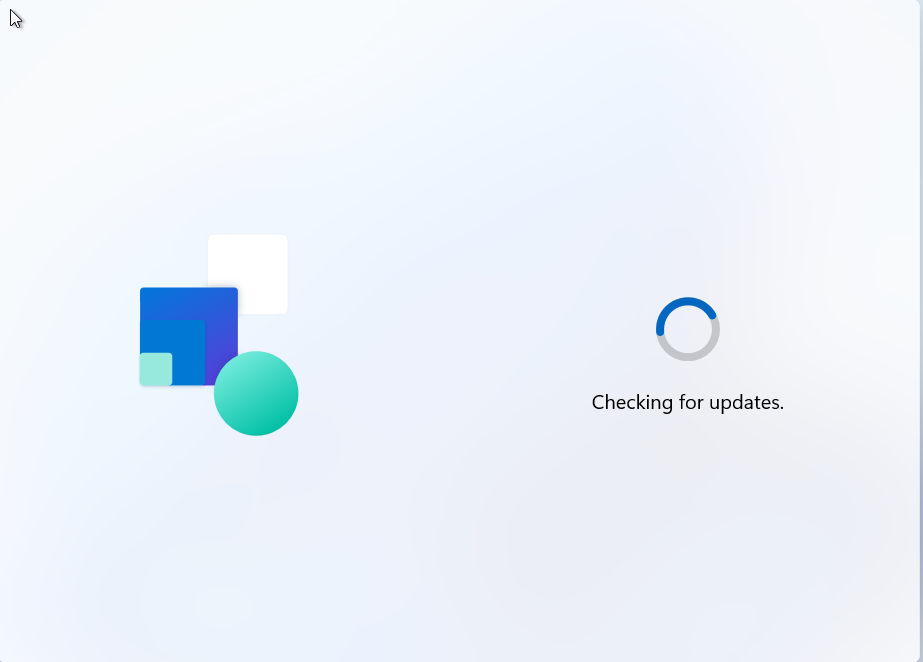
Now for good measure, the installer checks for updates again.
image923×662 45.1 KB
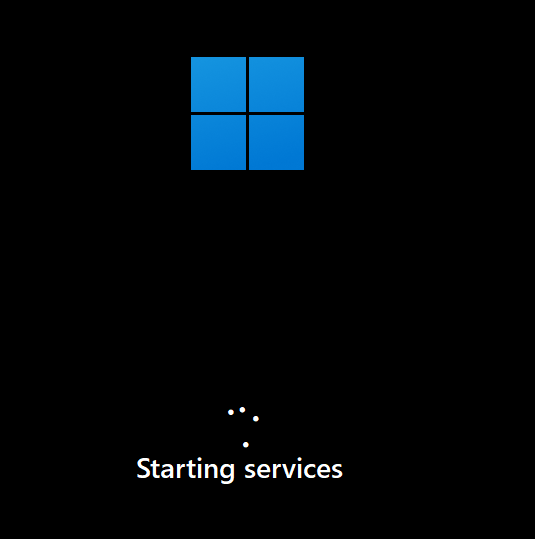
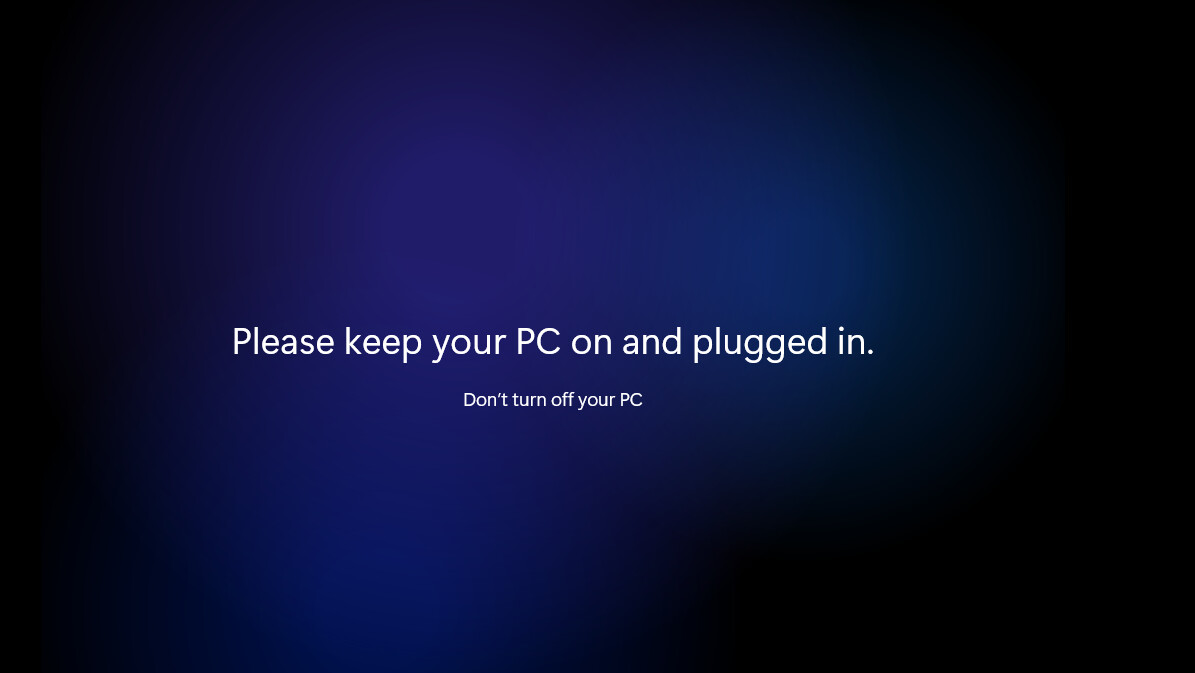
Then we wait for the remaining configuration top be applied to the virtual machine
image1133×753 45 KB
image1195×673 49.5 KB
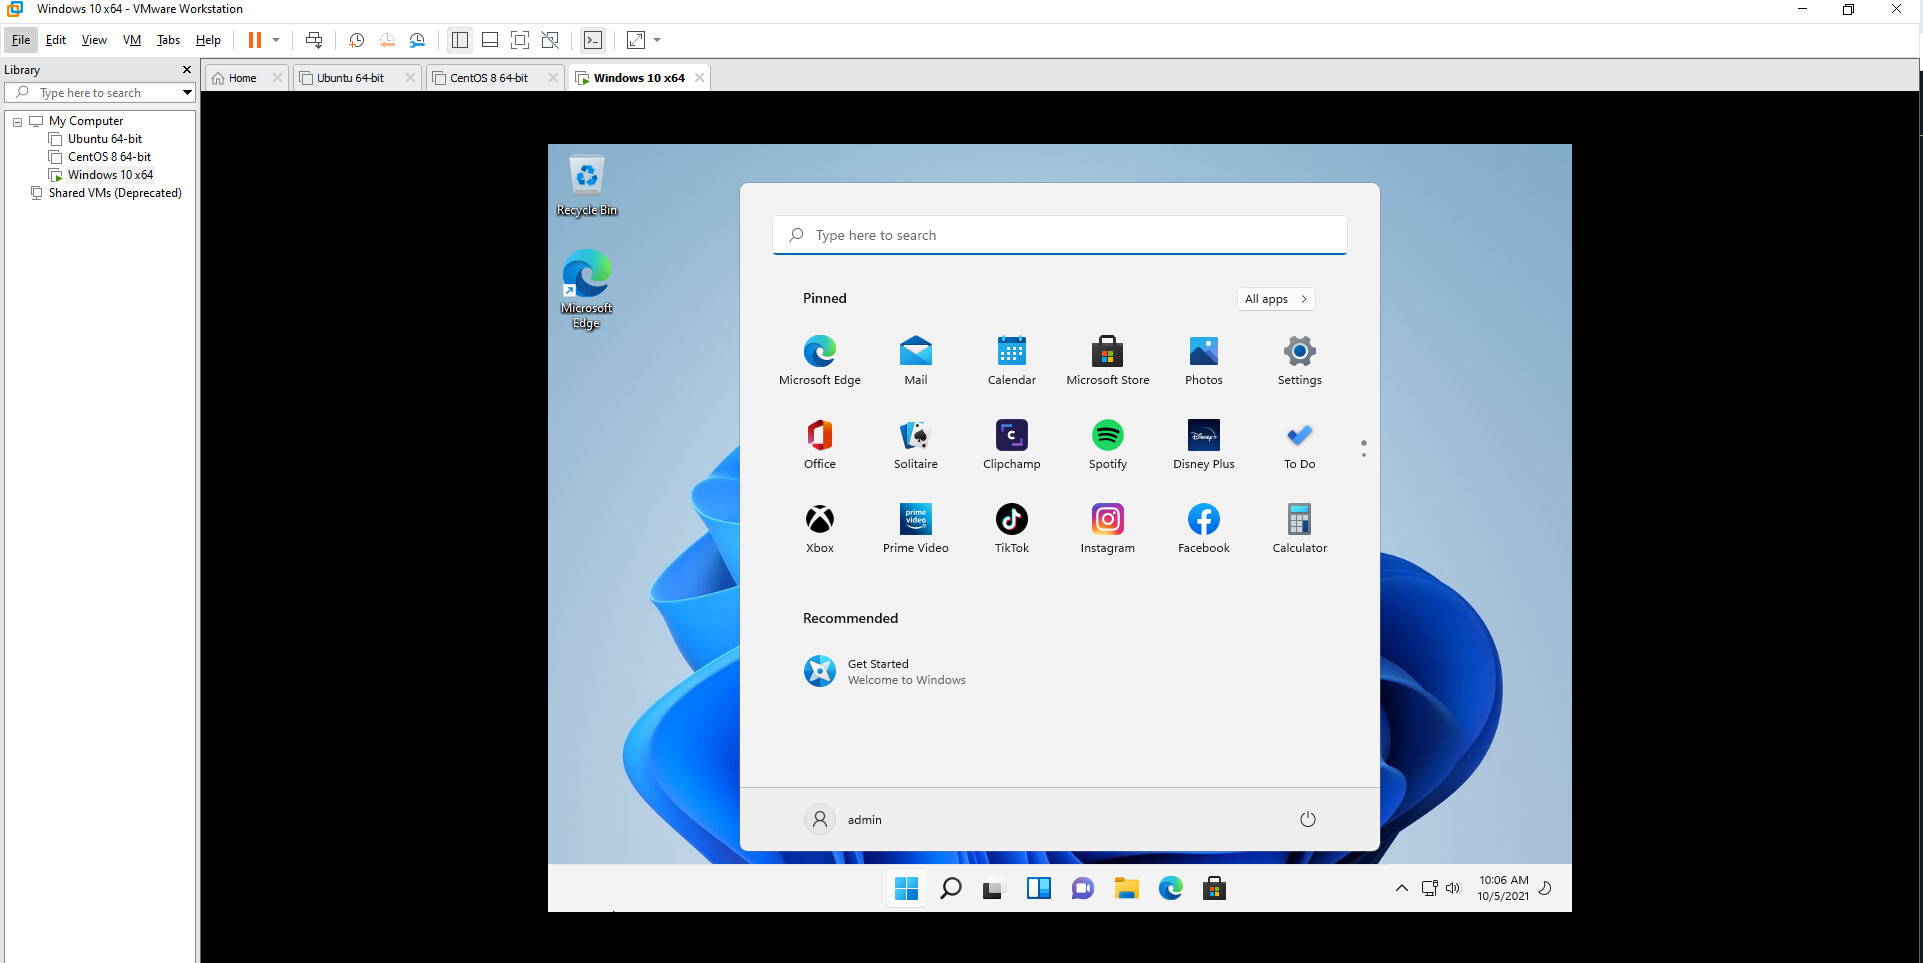
Tada! We now have a fully functioning Windows 11 desktop running as a virtual machine on VMware Workstation Pro.


Comments ()