So you are interested in installing and deploying vCenter 7.0. Well, the first thing you need to do is to grab the binaries (all 7.7GB of them) from the VMWare downloads site.
The file will be downloaded as a single ISO file which we need to extract (assuming you are running Windows as your desktop OS)
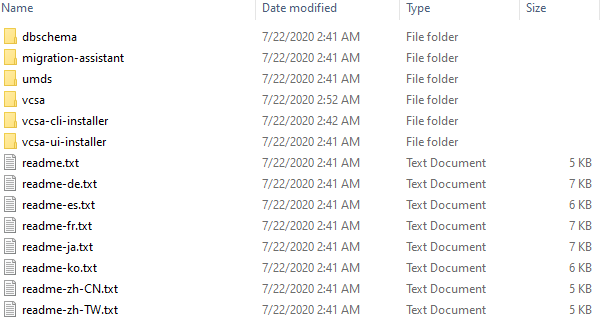
You need to extract the ISO file to get at the core files.
Once things have been extracted, we need to find the executable files that will be used for the installation. In our case, we will be using the GUI installer, however there is a fully supported CLI method available also.
We need to browse to the VCSA-ui-installer and the Win32 folder (again assuming you are running Windows). From there, we kick off the install by running installer.exe as admin (not specifically needed, but worth doing.) This brings us to the vCenter Server 7.0 GUI installation.
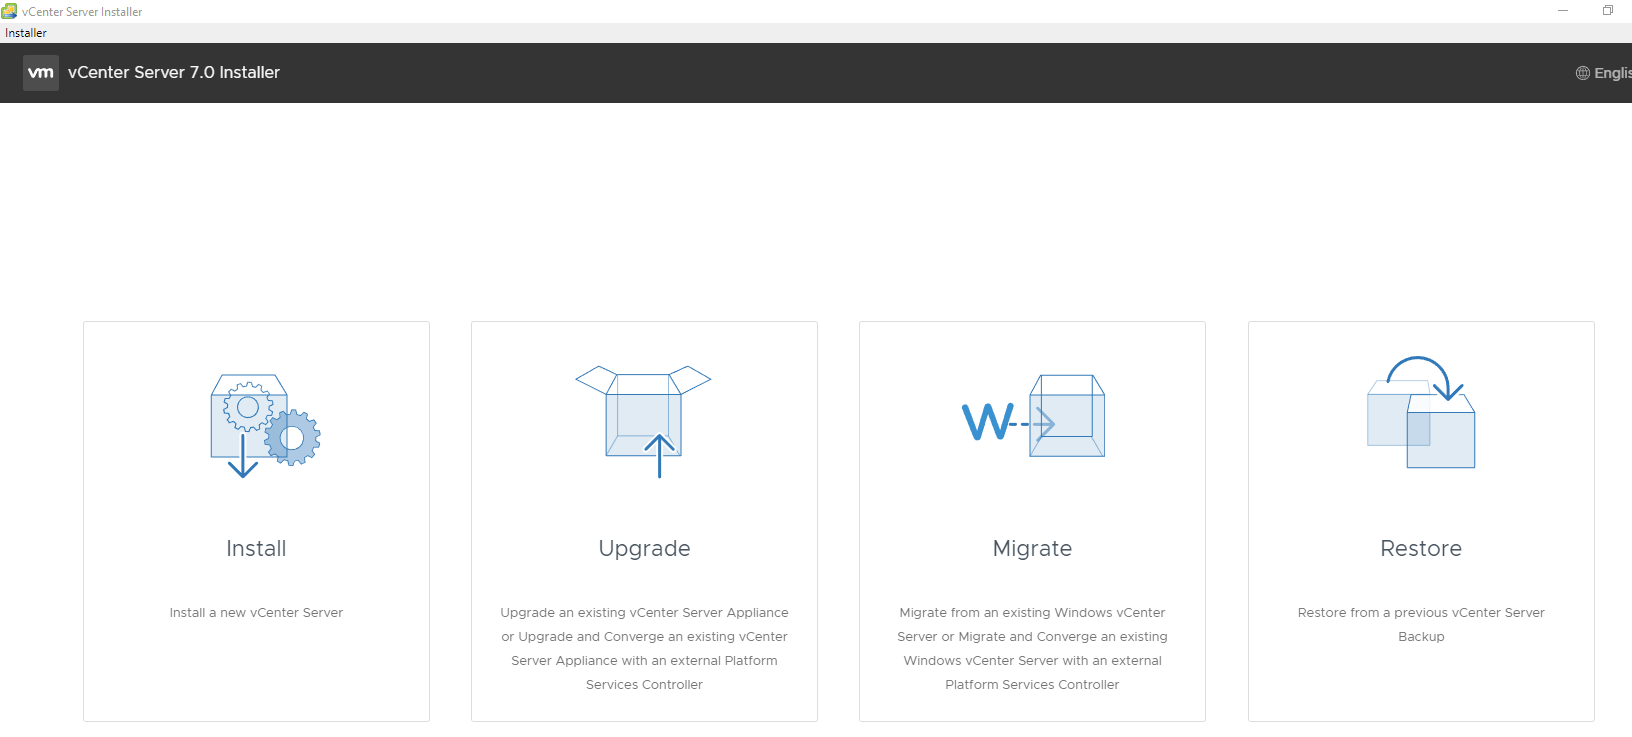
As this is a new install, we are going to click Install a new vCenter Server, which brings us to stage one of the installation process. Click Next to get the party started.

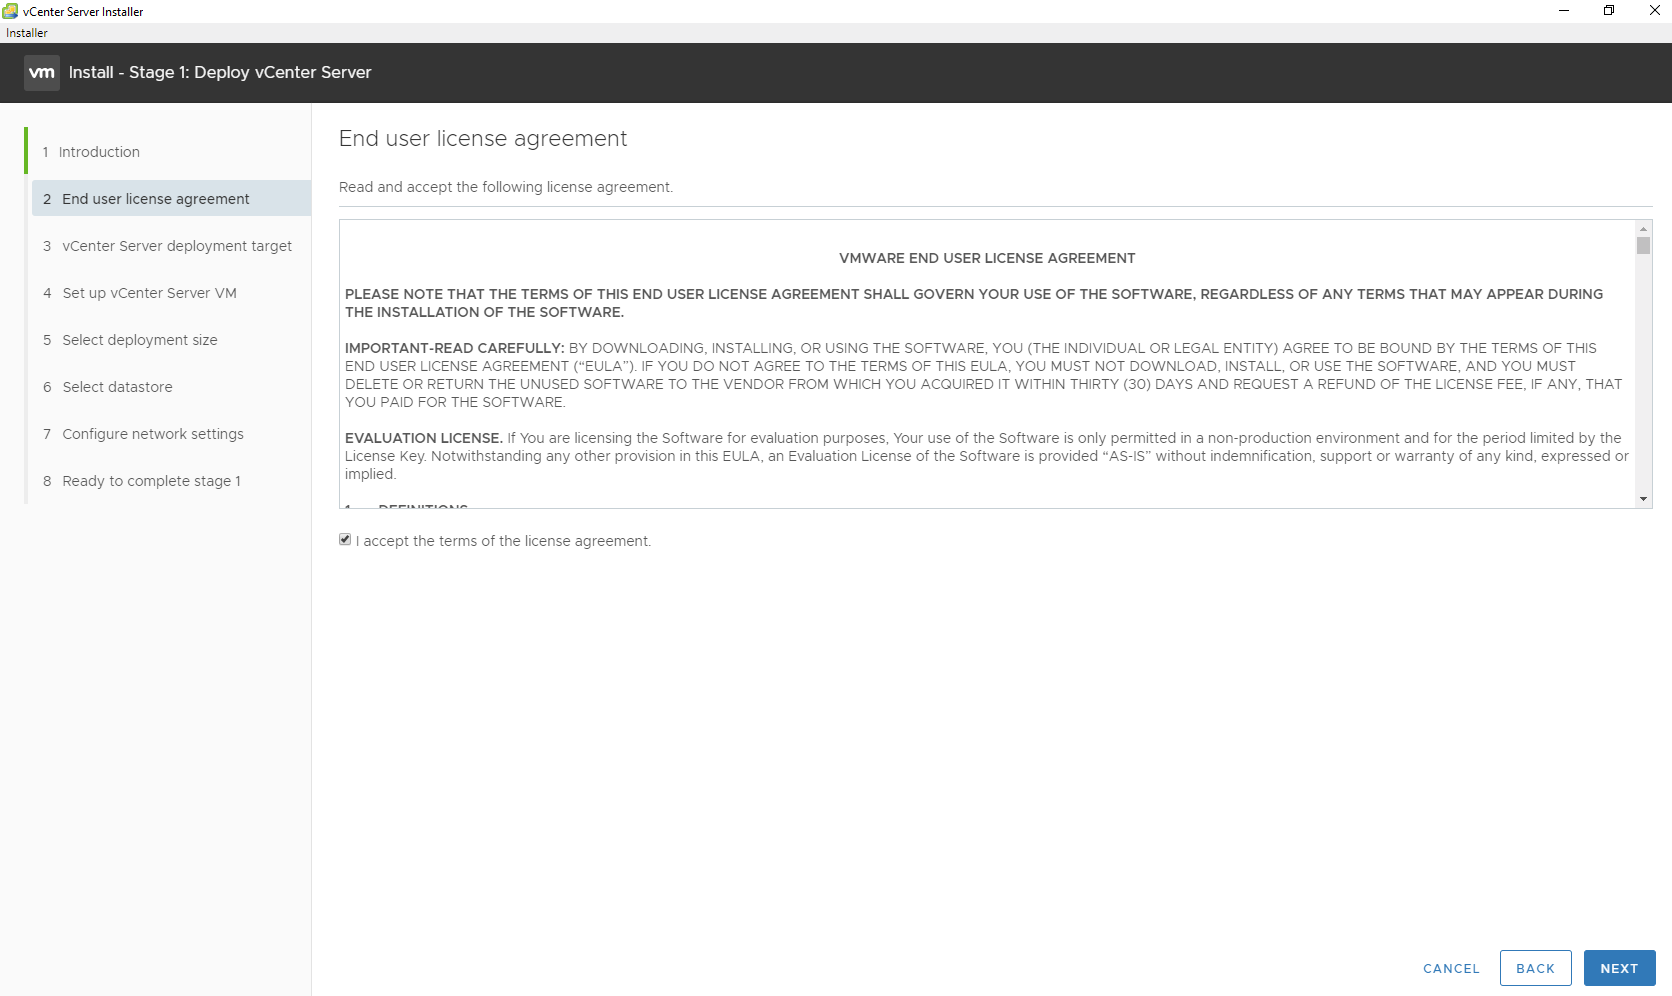
Accept the EULA and hit next.
On step three, you need to enter information for an ESXi host that youhave already setup and configured. Enter the required details and hit next.

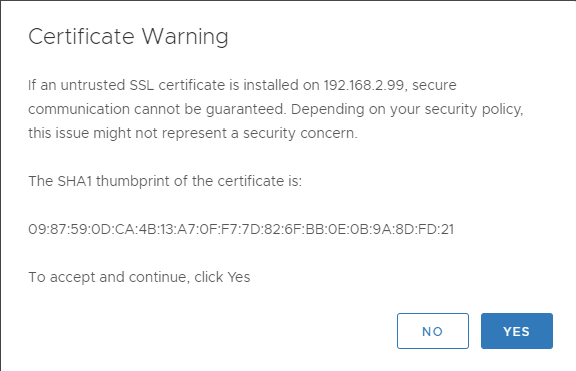
As we are running in a home lab environment a certificate warning is thrown. If you are installing for prod, make sure you have a valid certificate, or it WILL come back to bite you down the road.
After a very quick validation of your information, you are asked to define the vCenter Server Name and enter a root password. Be sure to take note of the password comploexity requirements.

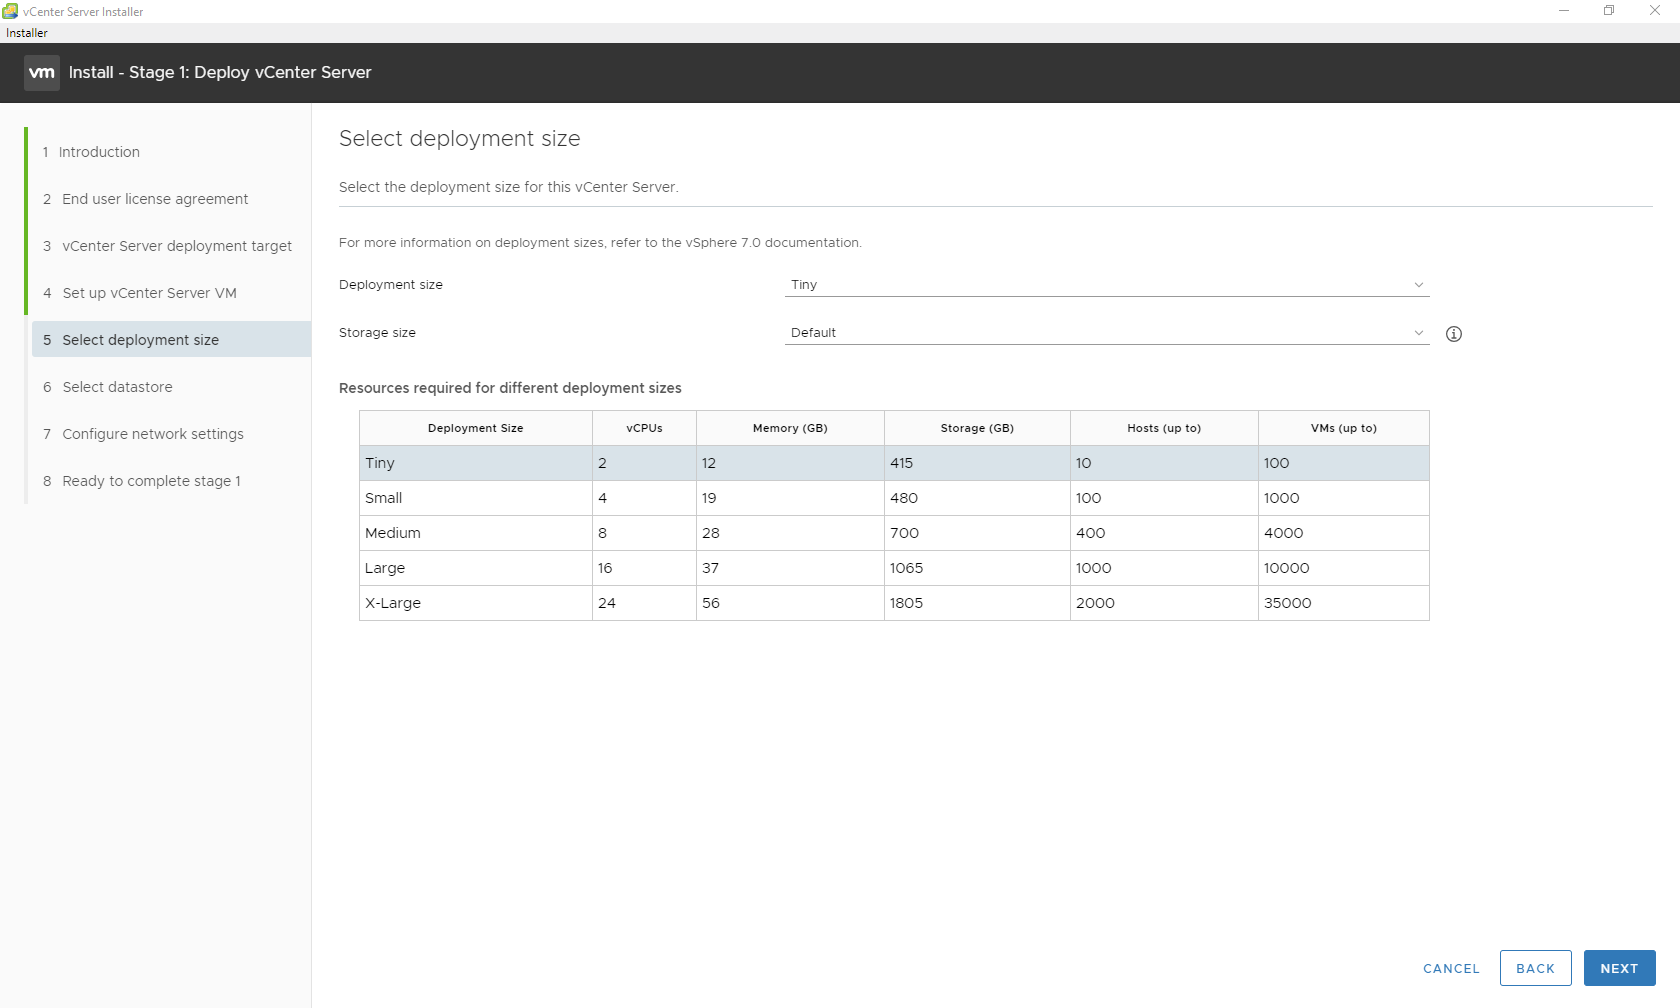
In step five of the deployment we need to size our vCenter install. As this is a lab for me, I am going to go with the tiny install (which is still quite large).
Now it is time to chose the Datastore that will be used to serve the vCenter server. IN the screenshot you can see that I chose to enable Thing Disk Mode to save on drive space.

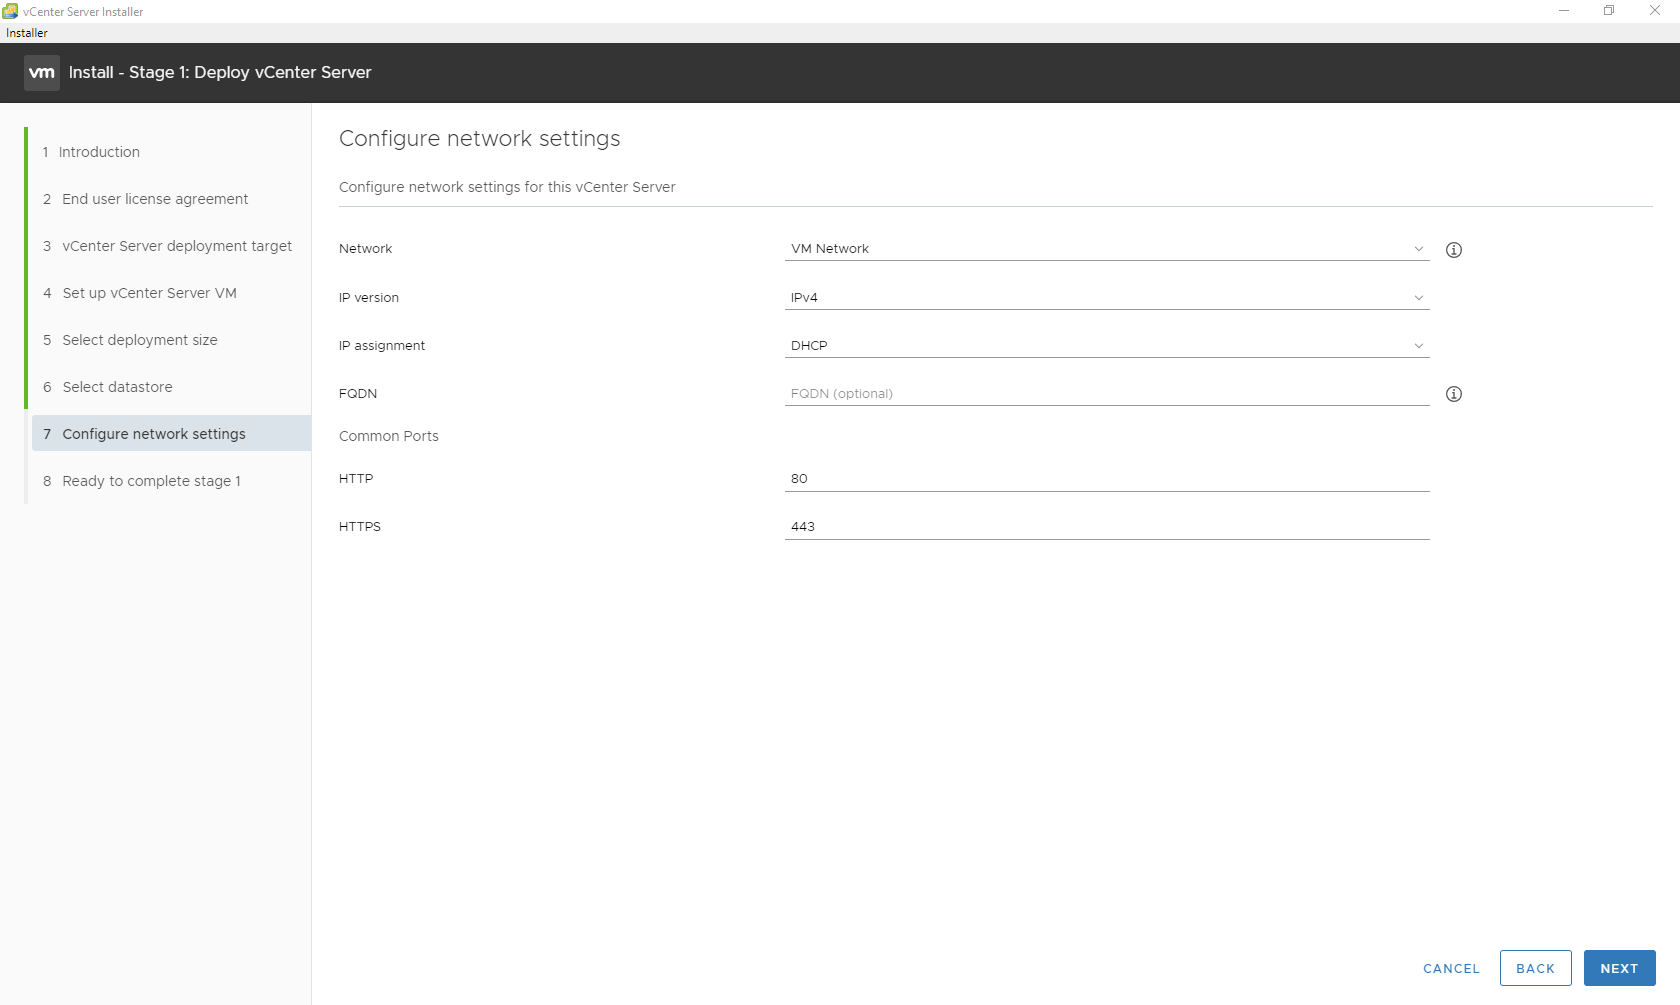
To configure the networking I went the easy way and let DHCP do the heavy lifting for me.
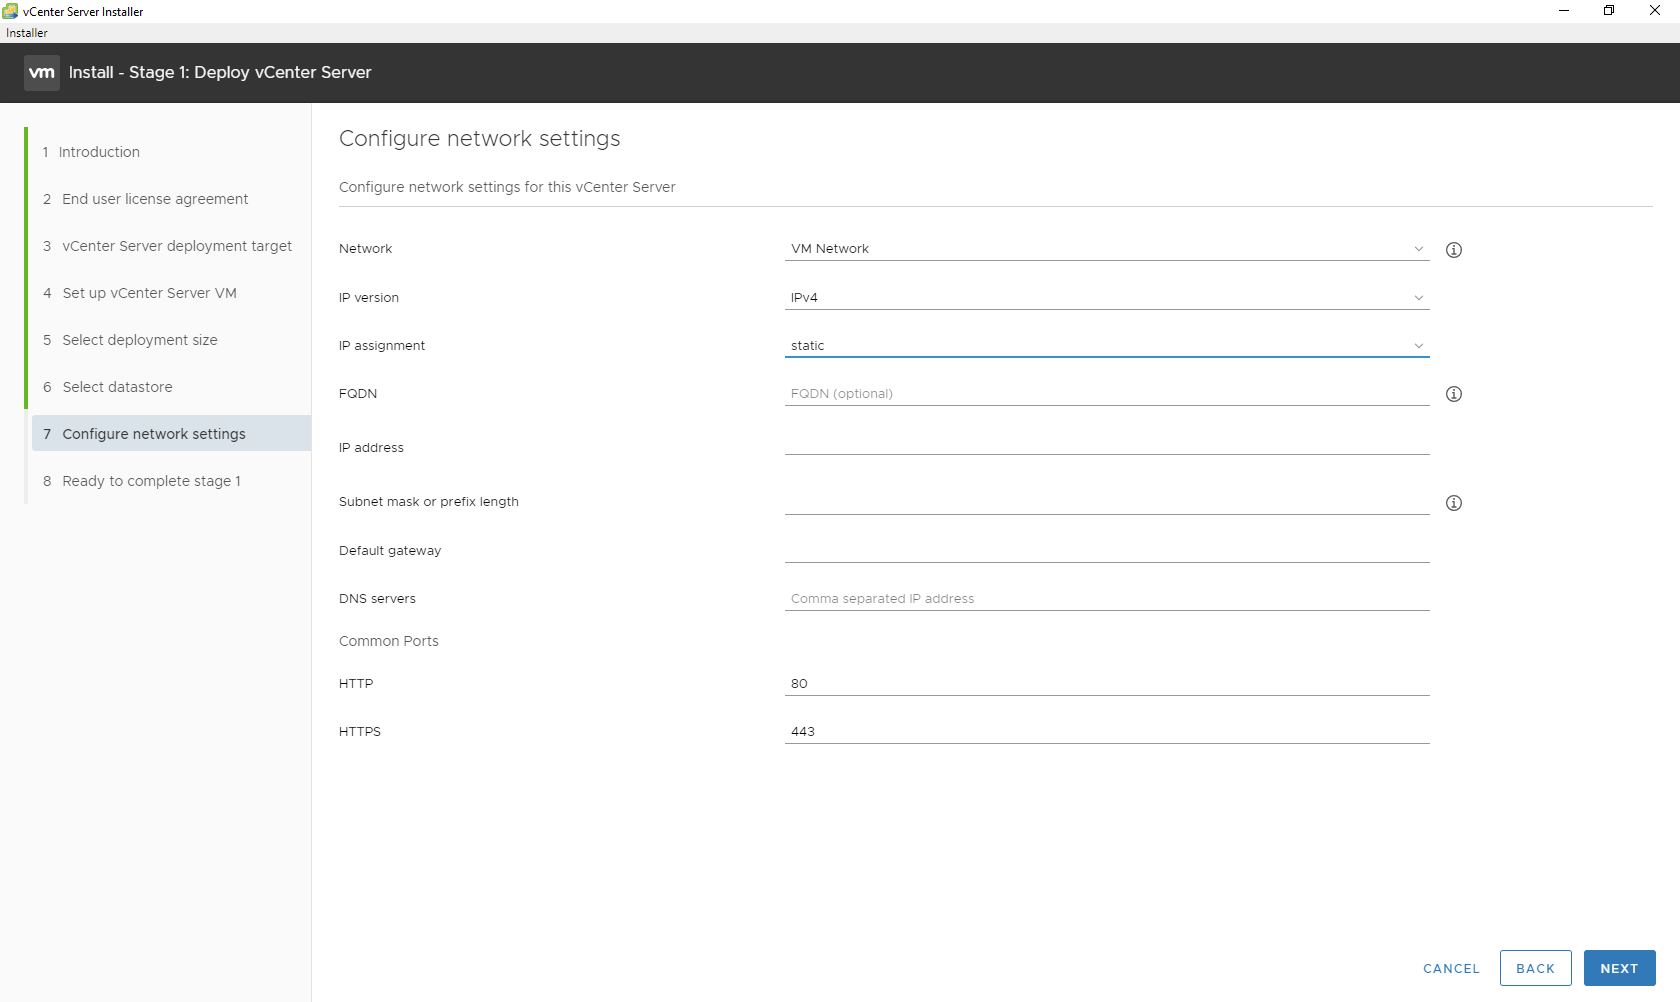
In a production environment, it would be wise to configure a static IP address.
At step eight there is a quick validation screen before you can hit the big red Finish button.

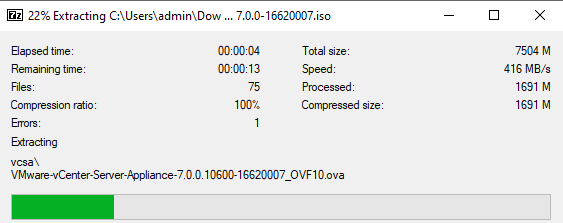
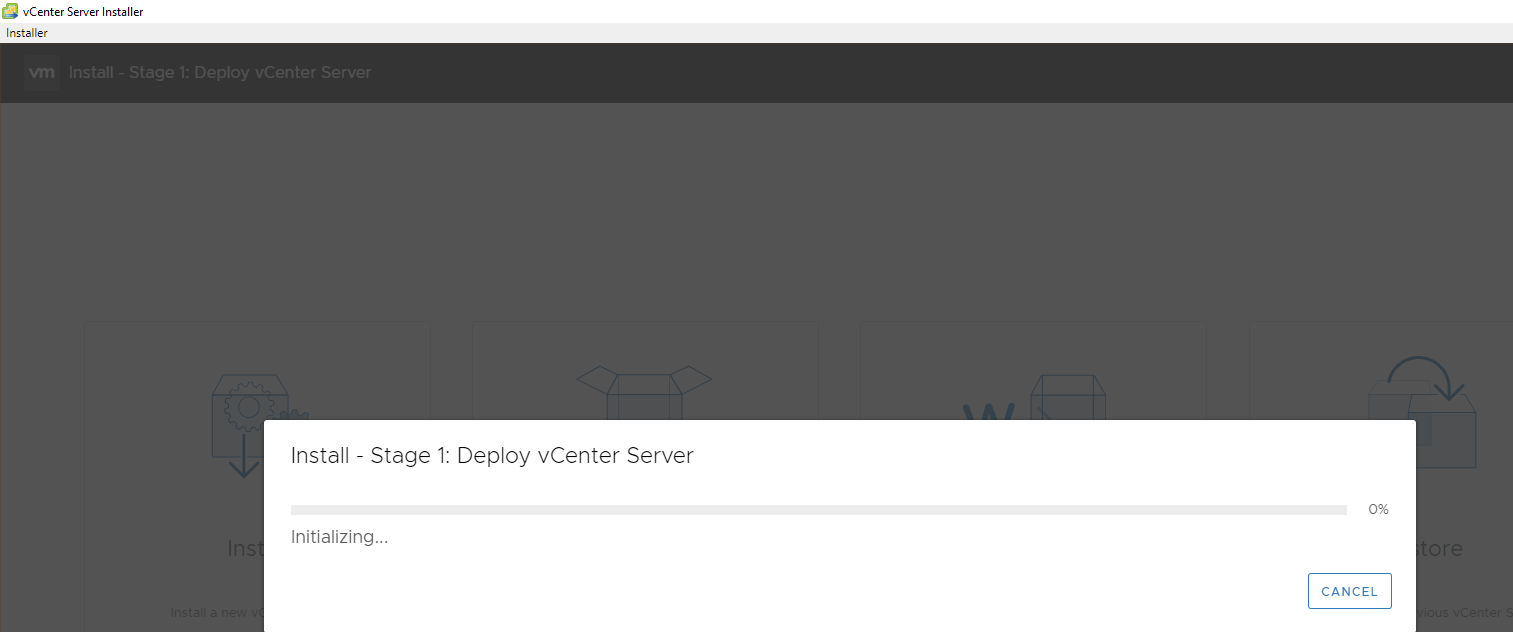
Sit back and get some coffee, as the installer is doing it’s magic.

If you look in your ESXi console, you will see the VM being created.

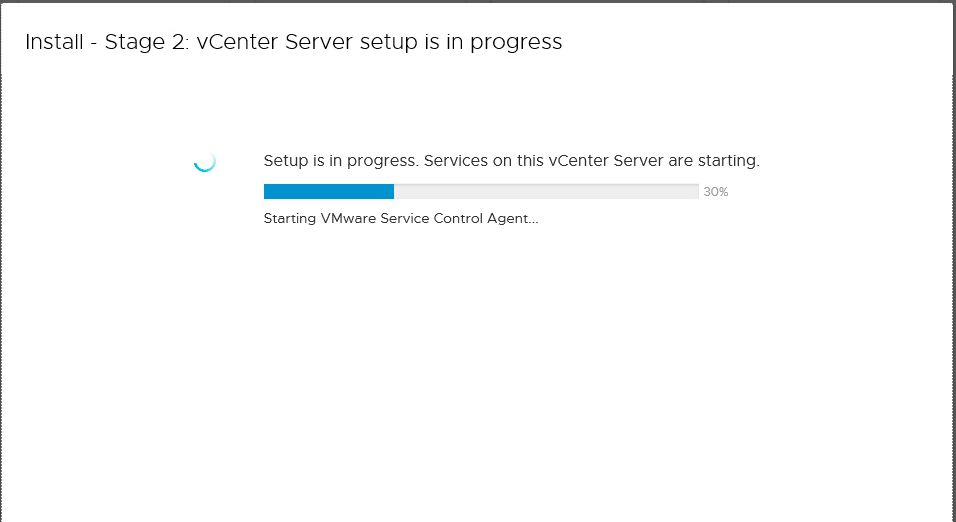
Still going!


If the stars align, you will eventually be shown this screen.

Success!