We all know that more and more companies are moving to Office 365, and with that comes a ton of data that needs to be backed up. I understand that Microsoft has their “recycle bin” for deleted items, but at the end of the day, it is your data, and you are responsible for backing it up. In this tutorial, I am going to walk you through the process of configuring Veeam Backup for Microsoft Office 365 (to shorten that, we are going to call it VBO going forward).
So before we get started, a few things need to be in place.
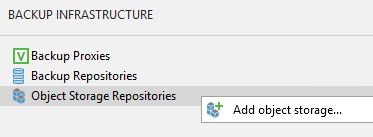
- An available S3 bucket
- Credentials/security permissions to access said S3 bucket.
- Administrative access to Azure AD (same tenant as where your Office 365 data resides).
With all that in place, let’s go. We first need to download the software from Veeam at this URL. Once downloaded, you will need to extract the three files contained in the zip file


We then need to run the main Veeam.Backup executable to kick off the process.
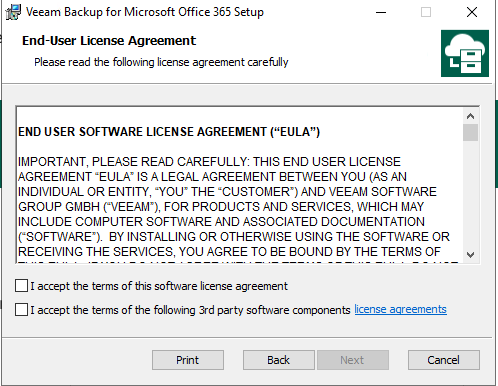
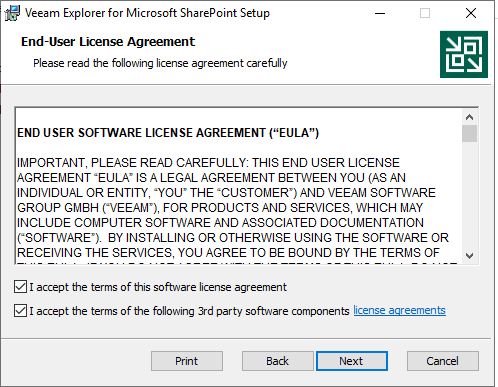
Accept the standard EULA
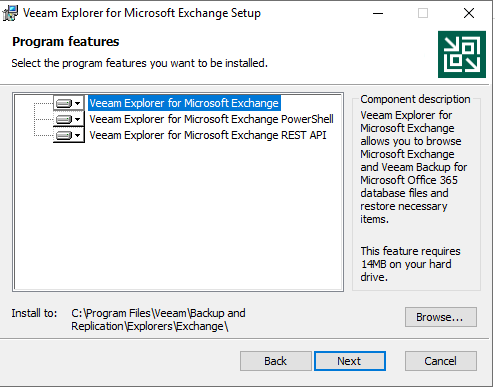
Install the required components.
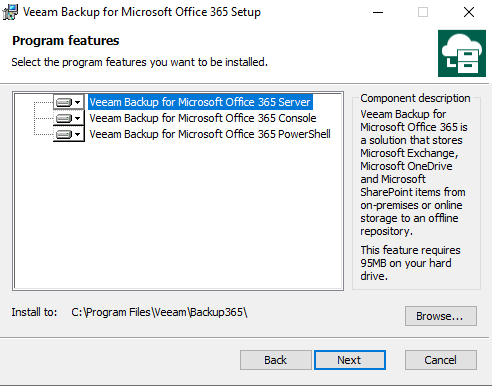
Click install

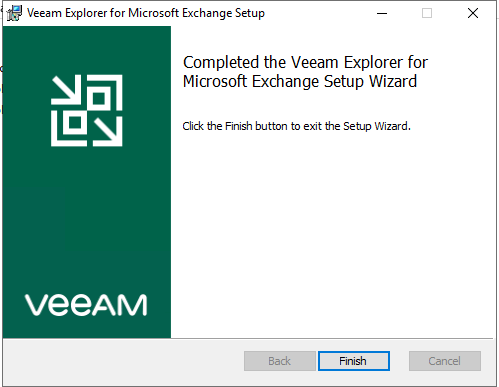
Let the installer do it’s thing. Eventually you will be presented with this screen if all goes as planned.
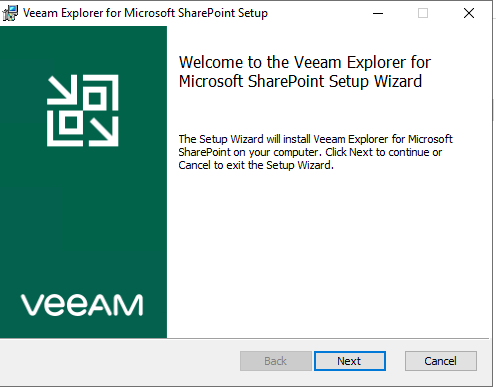
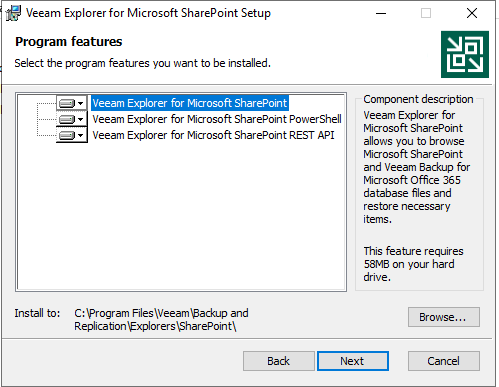
Now we need to install both the Exchange and Sharepoint executables.


Here is the Sharepoint plugin installer


So now that all the bits are installed, it is time to configure the application. On your desktop, you should now have two new Veeam icons.
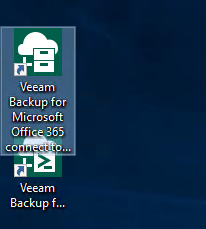
Veeam Backup for Microsoft Office 365
Veeam Backup for Microsoft Office 365 Powershell
Let’s rum the Veeam Backup for Microsoft Office 365 application (the top shortcut).
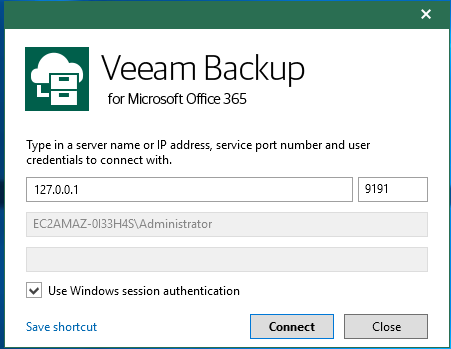
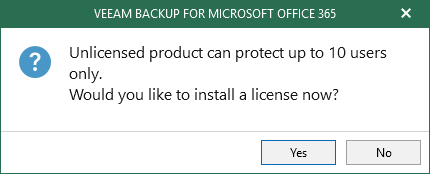
Hit connect, to have the application launch. As we are using the trial version, this allows us to backup 10 users only. We are warned about this as the app launched. AS we don’t have a license right now, we are going hit no.
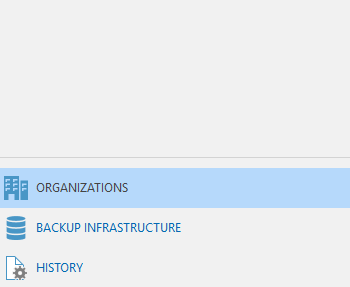
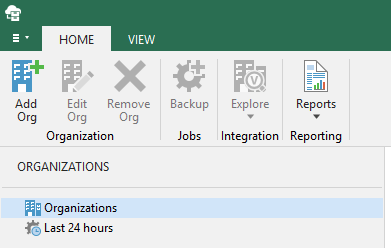
Now, we need to add an Org by clicking on the “Add Org” in the top left of the VBO Window.
 We are then prom[ted to choose the Organization Deployment Type. In our case, we want to backup from Microsoft Office 365, including Sharepoint and Exchange Online, so we are going to keep the defaults.

On the next screen, we need to choose the region that we are operating in. For most folks the default region should be fine.

For maximum security, we are going to use the Modern Authentication. Ensure that you leave the “Allow for legacy authentication protocols” unchecked.
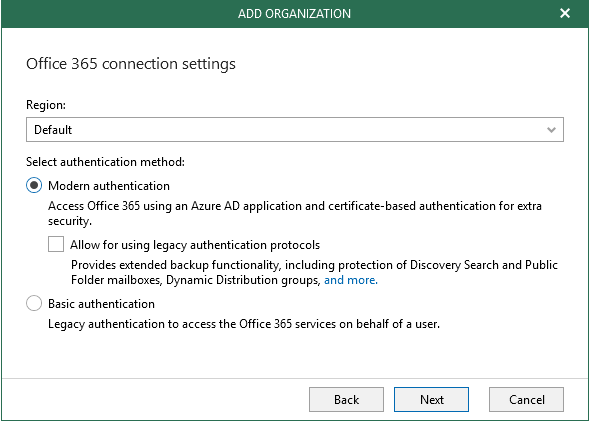
At this point we need to either Register a new Azure Ad application, or Use an existing Azure AD application. Let’s proceed with registering a new application.

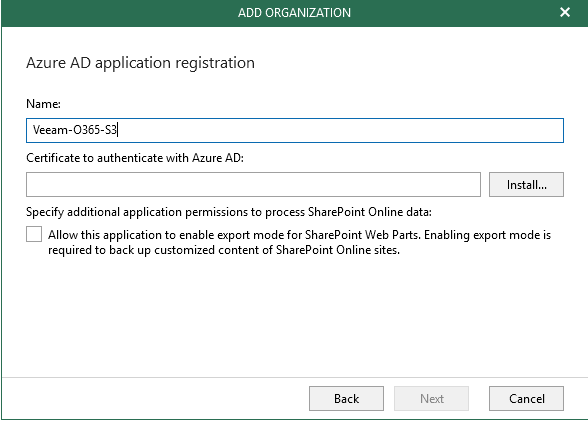
Give your Azure AD Application a name, and select to install a certificate by clicking install.
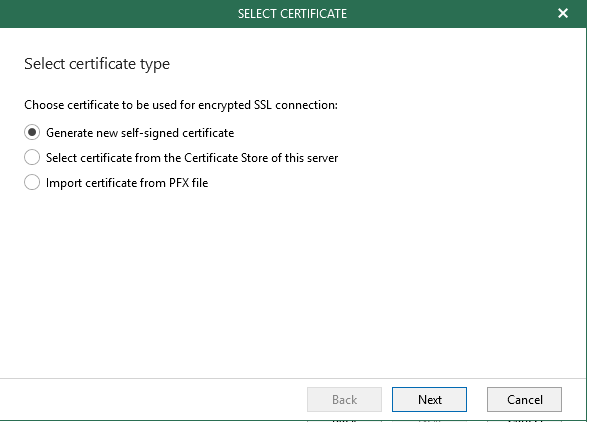
As you can see from the screenshot, we are going to generate a new self signed certificate
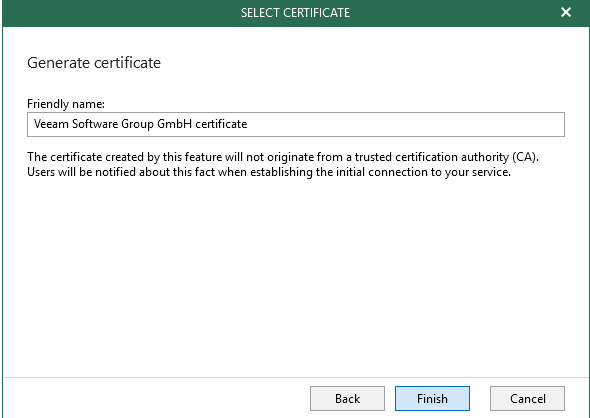
This will now populate a certificate hash for you.

Now, we are prompted to logon to Office 365.
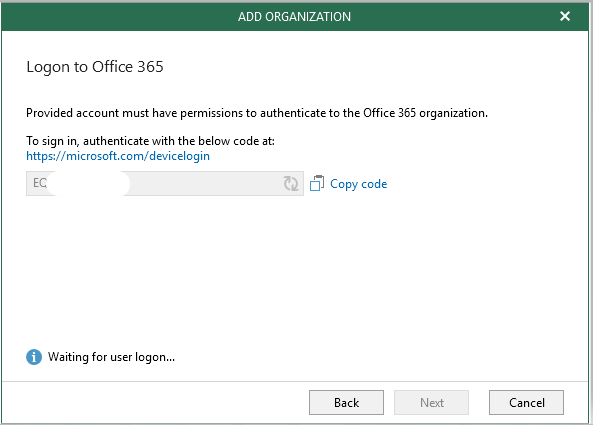
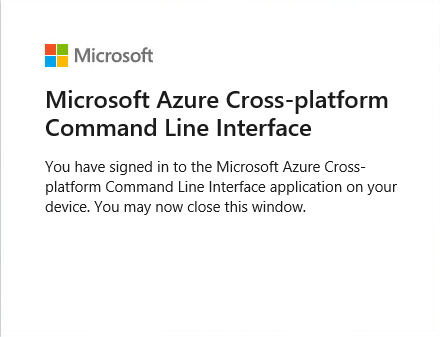
Ensure you have the code that is shown in the screen shot above. Yours will be different than mine. Proceed through the authentication steps. Obviously, I cannot show them here for security reasons. If you have done everything correctly, then you should see the following.
And in the Veeam Application, you should see this
![]()
Once you hit next, VBO will begin configuring the application in Azure AD.
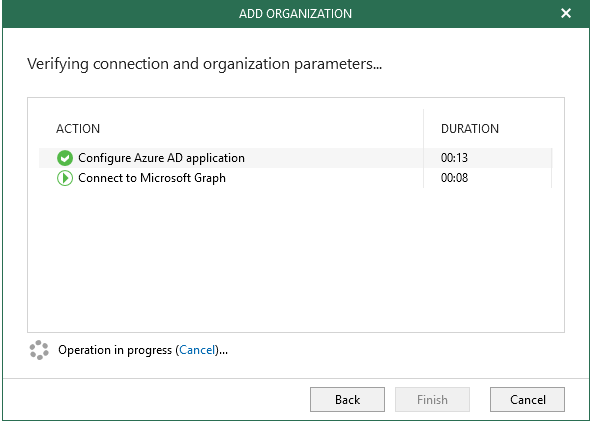
If everything goes as planned, then you should see something like this.
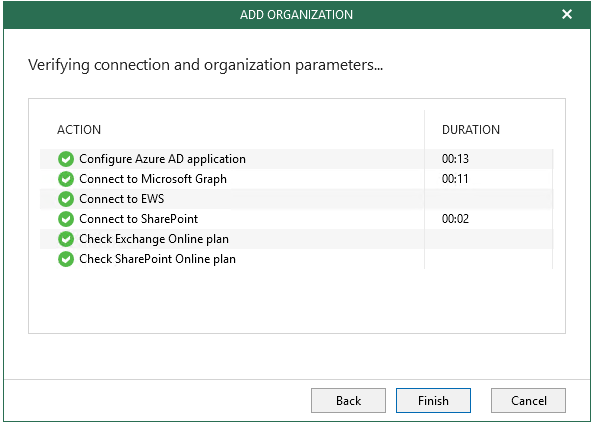
Hit finish, and you now have an organization configured in Veeam Backup for Office 365, so we now need to get on with configuring our first backup job. I will do that in part two of this post.