I have always been a big fan of what Rodolfo has been doing over at Chevereto, so when the chance came to kick the tires on the new version of Chevereto (v.4.01), I jumped at the chance. There are a million different ways to install the software, (with even more options now available with version 4). That being said, the official documentation can be a bit too technical for many people, so I decided to create this blog post to give you the simple steps you will need to get Chevereto installed on a vanilla install of Ubunto 22.04, which is the recommended Linux Distribution for VPS based installs.
The first thing we need to do is log in to our VPS as root. Getting a VPS stood up with the OS installed is beyond the scope of this article. With that being said, if you want some further steps on how this is accomplished, let me know in the comments. Once you are logged in, you should see something similar to this.

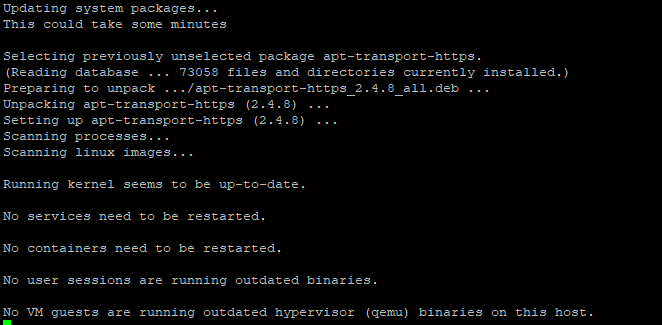
As with any new OS, the first thing we want to do is install the latest updates. We do this by running the following commands, one at a time until each is completed.
Sudo apt-get update
Sudo apt-get upgrade
This whole process can take between 5 and 10 minutes.
When done, we should be sitting at the Command Line Interface of a freshly updated OS. At this point, I always like to reboot the VPS, so it is fresh. Enter this command and log in again after a few minutes.
Sudo reboot
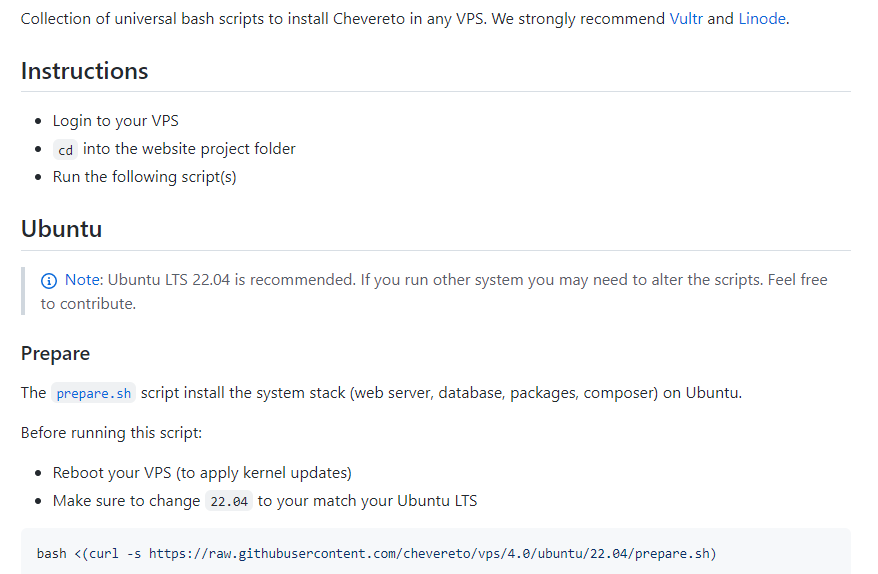
Now that the VPS has been created, we can get on with the installation. Here are the instructions from the official Chevereto repository. To a non-technical person, this is a non-starter, so I will walk you through it.
The first thing we need to do is create a working directory. In my case, I am going to create /var/chev by issuing the following comment
sudo mkdir /var/chev
We then need to browse to that directory by entering the following at the CLI
cd /var/chev
We should now see something that looks like this at the CLI
Now we are going to run the prepare script that is referenced in the documentation I linked to above.
bash <(curl -s https://raw.githubusercontent.com/chevereto/vps/4.0/ubuntu/22.04/prepare.sh)
If we run that code “as is” by copying and pasting, nothing happens. For this reason, I am going to go down a slightly different path to getting this installed. I am going to copy the preparation.sh file to the server, and run it directly. To do this, we need to ‘wget’ the file by missing the following command.
wget https://raw.githubusercontent.com/chevereto/vps/4.0/ubuntu/22.04/prepare.sh)
This file is now on our server, however, it is not executable. We need to make it so, by doing the following.
chmod a+x prepare.sh
Now that is executable, we can “call” the executable by running
./prepare.sh
If things are working, you should see the following kick-off.

DO NOT PROCEED UNTIL YOU SEE Stack Ready For Chevereto
![]()
Once complete, we can now install Chevereto by getting the new one.sh script from
wget https://raw.githubusercontent.com/chevereto/vps/4.0/common/new.sh
We once again, need to make this file executable, so we run
chmod a+x new.sh
Then execute the file.
./new.sh
If all goes well, we should be prompted for our Chevereto license key which you can get from the Chevereto panel.

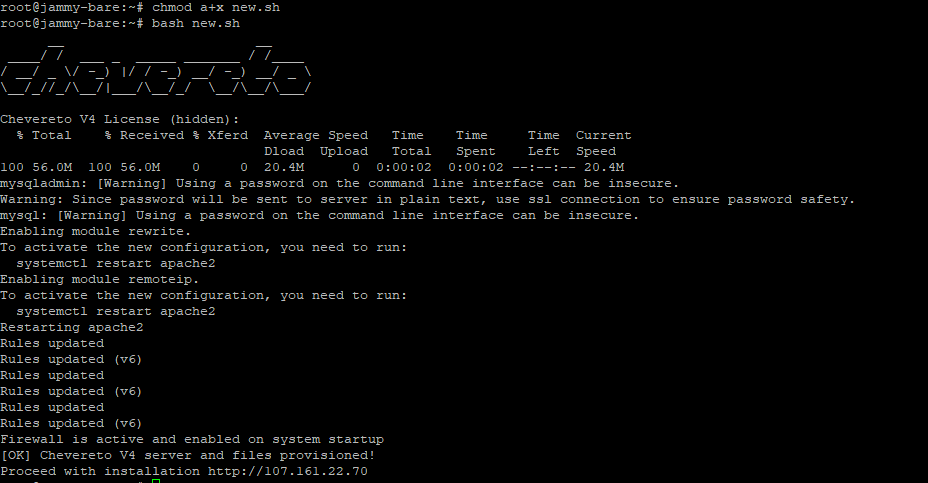
After entering your license key, hit enter to proceed. Huzzah! The installer kicks off.
This part only took 10 seconds or so on my test box.
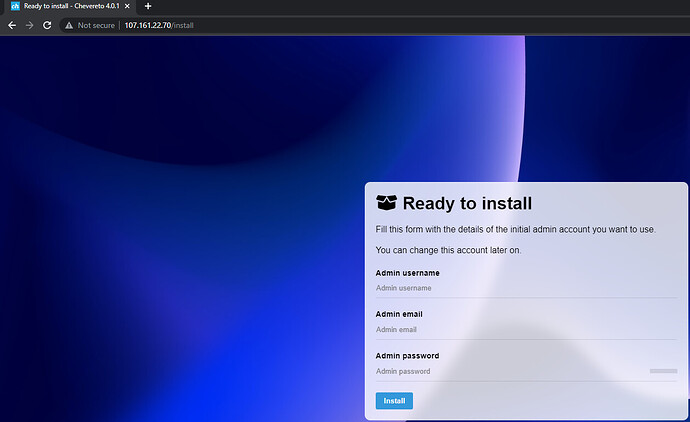
As you can see, the CLI work is over, and we now need to access the site via HTTP: So fire up your favorite browser and hit the IP address that is shown in the output of your CLI.

As I am running this to show the basic install, the blog here is finished.
If you would like to see us add https: support and a custom domain, please let me know in the comments.


