This post is part of a larger post here on how to install Citrix in a home lab in less than an hour.
**Six Configure Citrix Storefront
By default Citrix Storefront is not installed as part of installing Citrix studio it is a separate component that needs to be installed independently. The installation itself is pretty straightforward it’s really 2 clicks next next next and install. once the installation completes you’re prompted to configure the store I’m gonna walk you through it and do in this blog post.
Assuming the installation of storefront went as expected you should be presented with the screen it looks like the below.
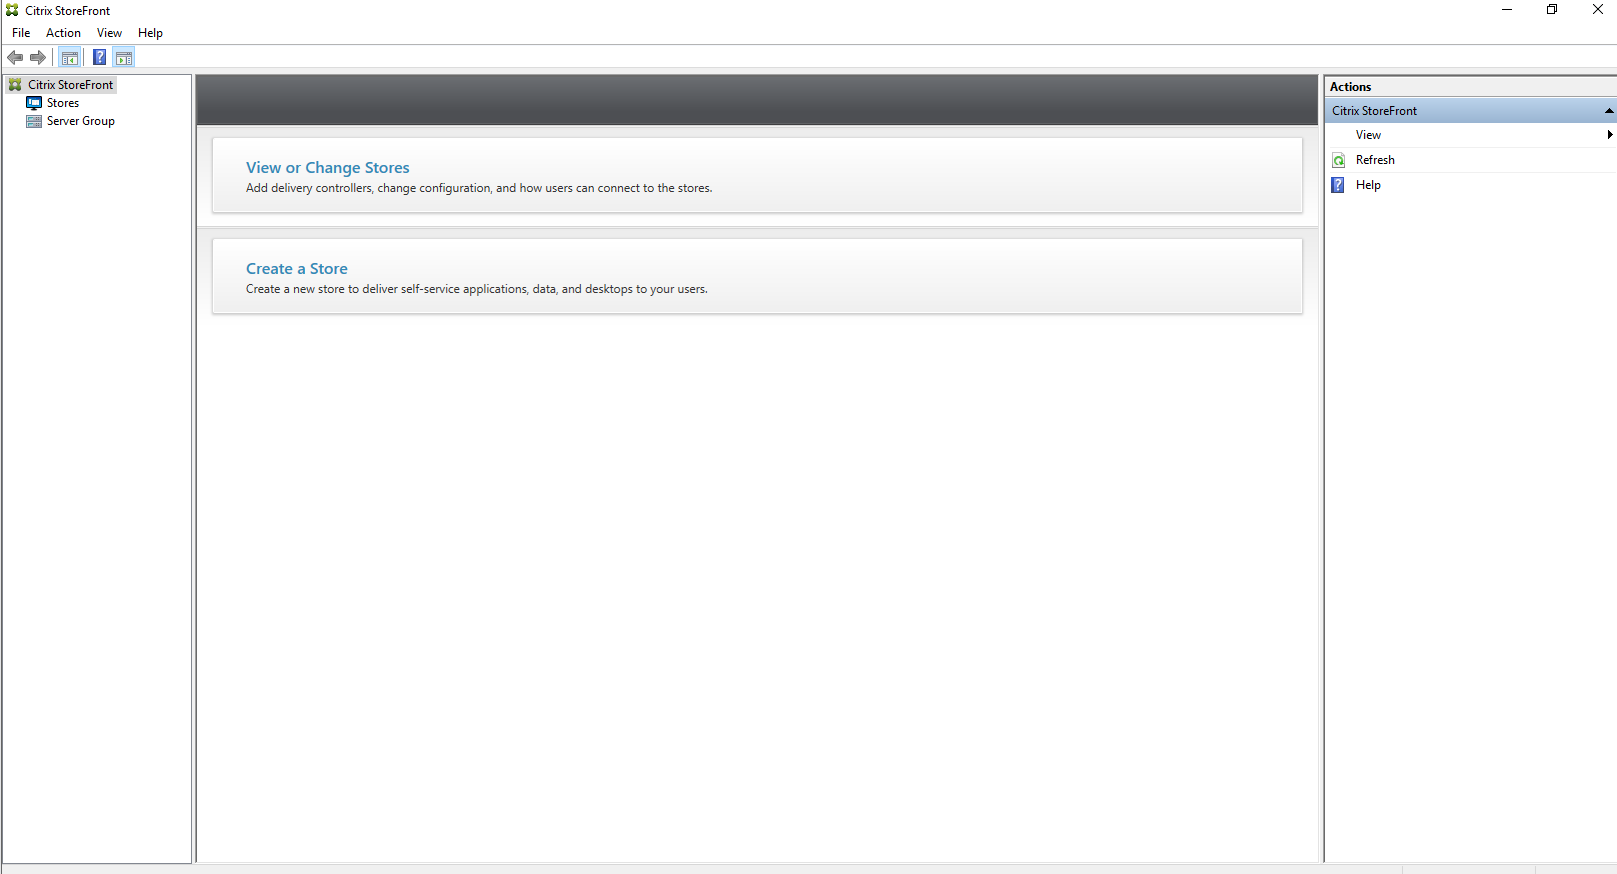
As this is a new install we are going to click on create store
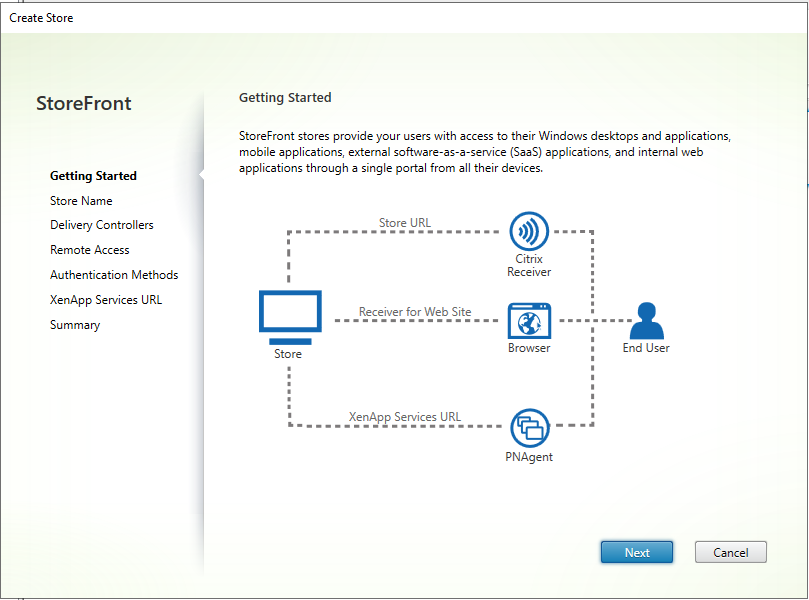
Hit next on this screen, as is is outlining how storefront is used.
Storefront stores provide your users with access to their windows desktops and applications, mobile applications, external software as a service applications, and internal web applications through a single portal from all their devices
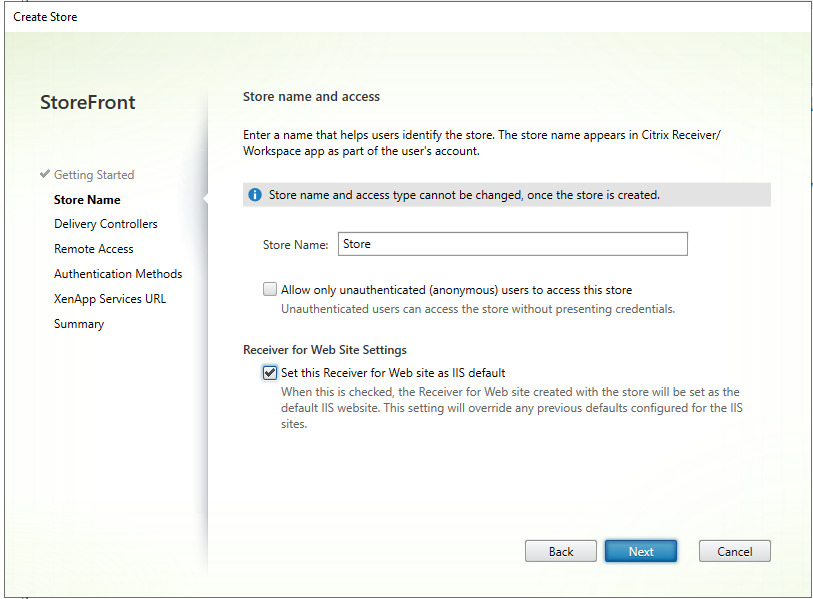
Here we need to configure it the store name and grant access
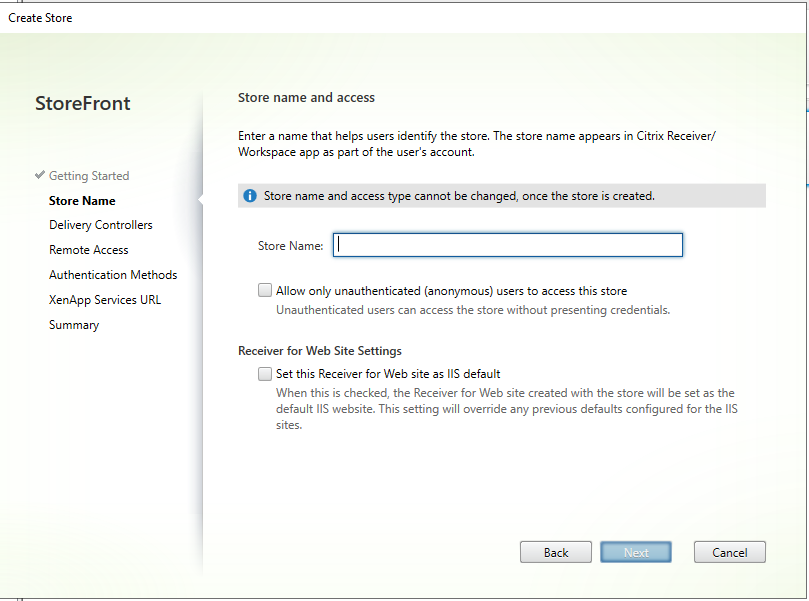
As this is our lab environment were gonna give it a creative name and call it “store” and we not going to allow unauthenticated users. We will also make this the default receiver for website in IIS
On the next screen we need to let Citrix storefront know about our delivery controllers. In it in our case we only have one controller so the configuration is very straightforward. We click on add, and give it the hostname of our delivery controller.


Specify the Citrix virtual apps and desktops delivery controllers or xenapp servers for the store. Citrix recommends grouping delivery controllers based on deployments.
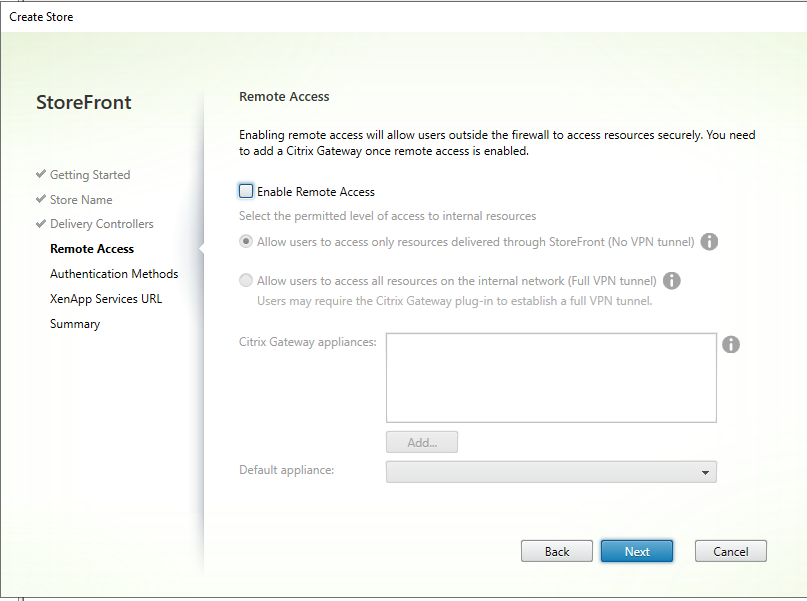
As this is our lab environment we will not be granting remote access so we can leave everything blank on this page
On the next screen we need to configure our authentication methods some of the methods available to was our street username and password SAML authentication tomane passed through smart card HTTP basic and pass through from Citrix gateway. We wil be using straight username and password here.

On the next cream need to configure our app services URL it’s pretty safe to leave this is default and just hit create.

The store creation only takes a couple of minutes remember at the end of the day the store simply and IIS site.
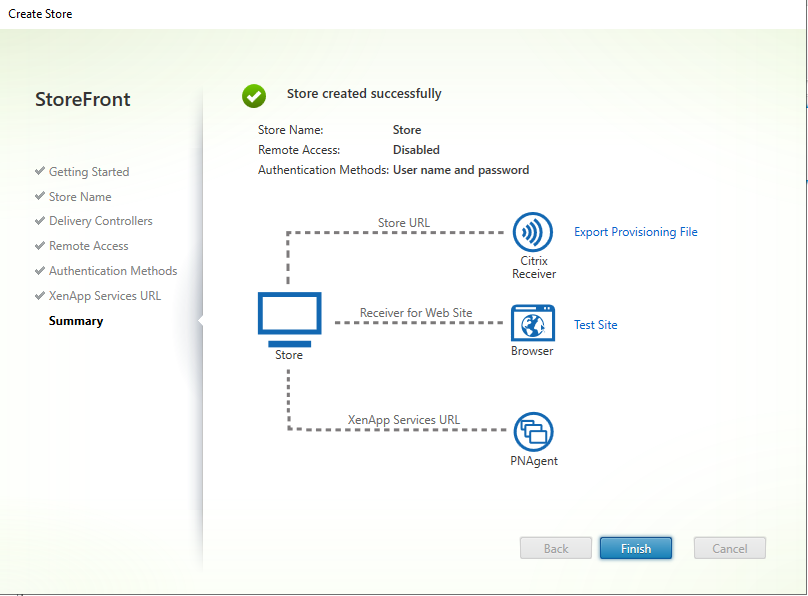
Now that the process is complete we should see a store within our studio console.

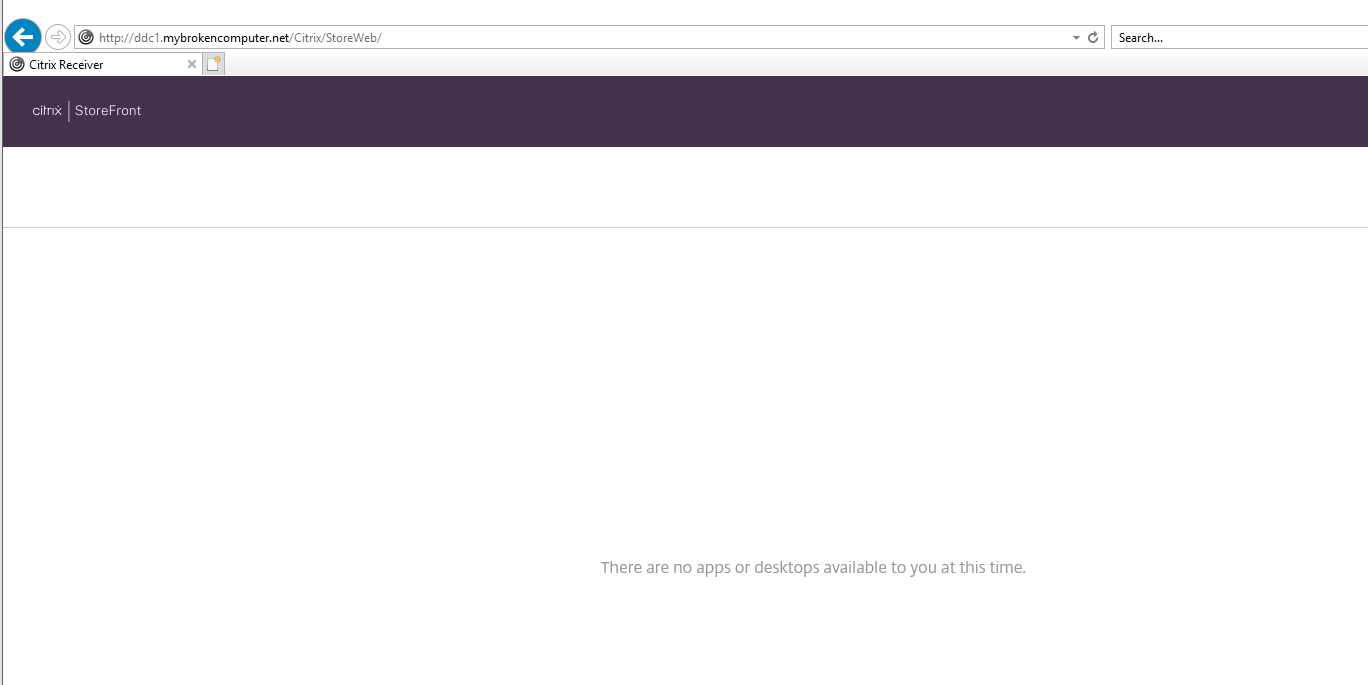
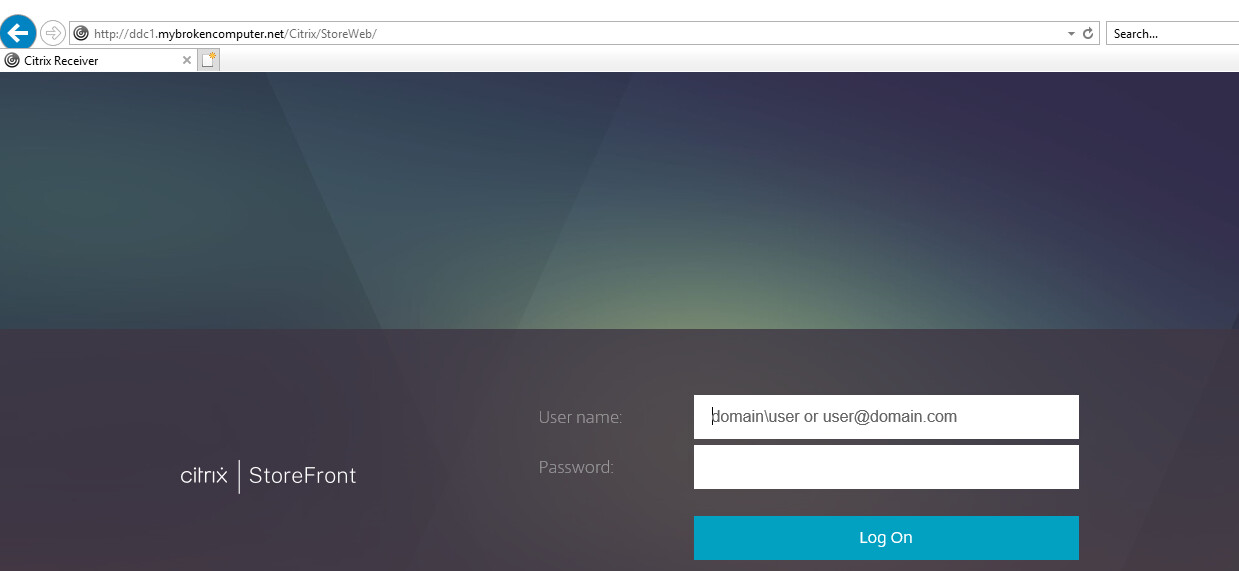
additionally we should be able to browse to the store front URL and log into storefront so let’s test that. Open a browser, and enter the URL of your Storefront Store. In my case the url is https://dd1.mybrokencomputer.net/Citrix/StoreWeb

Click the logon button, and you should see the following screen where you can enter your AD credentials to access the store.
Once you have entered your username and password, you should see an empty storefront server. This is normal, as we have not yet created our VDA devices. We will do that in the following steps.