Installing the IGEL Cloud Gateway ( we will call it ICG from here on out), can be a daunting task, not because it is hard to install, it is because it relies heavily on secure certificates to be used during the install process. It is recommended to use a public Certificate Authority on your ICG, as they are trusted by most browsers out there today.
Me being so cheap, I wanted to see if there is a way I can leverage the free (trusted) certificates that are provided by Lets Encrypt. The site you are reading this post on is leveraging Lets Encrypt so we can serve all traffic securely over TLS (https://)

So, what do we need in order to get started?
- I am going to assume that you have the IGEL Universal Management Suite already installed, and configured correctly
- A server running a Linux OS. For this setup, I am going to create a pay as you go VPS to show the steps. In an enterprise environment, things would need to be configured with much more thought given to security (think DMZ, firewall rules, ports, etc).
- The binaries for the IGEL cloud gateway. This can be downloaded directly from the IGEL website. As of today, here is the link to the most current version (2.02.110)
- DNS A record pointing to the hostname of your ICG server.
As we are using Cloudflare for our DNS, it was a pretty straightforward exercise to add the needed A record which pointed to our VPS. We chose the hostname of icg.mybrokencomputer.net
Now we need to login to our Linux server to install the bits needed for Lets Encrypt to issue us some certificates
There are a few commands we need to run, and they should be run in this order.
sudo apt-get update

sudo apt-get install software-properties-common
sudo add-apt-repository ppa:certbot/certbot
Hit enter to add
sudo apt-get update
Now it is time to start adding the Lets Enncrypt software.
sudo apt-get install certbot
Now that it has been installed, we need to configure Lets Encrypt by running the install and answering a few questions.
sudo certbot certonly
We want to spin up temporary webserver (standalone), so we are going to choose option 1.
We are then offered the chance to enter an email address for urgent renewal issues of the cert. This is highly recommended in a production environment.

We then need to agree to the terms of service of using the Lets Encrypt server, so hit A to agree

You need to decide if you are willing to share your email address with the Electronic Frontier Foundation. A founding partner of the Let’s Encrypt project and the non-profit organization that develops Certbot.
Now we need to chose the domain that we plan to use for our IGEL Cloud Gateway. It is very important that you verify that your DNS is configured correctly, or this will fail. For our purposed, we are going to use icg.mybrokencomputer.net as our hostname
![]()

Obtaining a new certificate
Performing the following challenges:
http-01 challenge for icg.mybrokencomputer.net
Waiting for verification…
Cleaning up challengesIMPORTANT NOTES:
Congratulations! Your certificate and chain have been saved at:
/etc/letsencrypt/live/icg.mybrokencomputer.net/fullchain.pem
Your key file has been saved at:
/etc/letsencrypt/live/icg.mybrokencomputer.net/privkey.pem
Your cert will expire on 2021-06-23. To obtain a new or tweaked
version of this certificate in the future, simply run certbot
again. To non-interactively renew all of your certificates, run
“certbot renew”Your account credentials have been saved in your Certbot
configuration directory at /etc/letsencrypt. You should make a
secure backup of this folder now. This configuration directory will
also contain certificates and private keys obtained by Certbot so
making regular backups of this folder is ideal.If you like Certbot, please consider supporting our work by:
Donating to ISRG / Let’s Encrypt: Additional Donation Information - Let's Encrypt
Donating to EFF: Support EFF's Work on Let's Encrypt | Electronic Frontier Foundation
Now we have the certs we need. To verify, navigate to /etc/letsencrypt/live/yourdomainname/ and you should see your certificates.
We need to get a copy of those certificates onto our local machine, as they will need to be imported to UMS. I use filezilla to get the certs, but you can use whatever method works for you!
There are four certificates in total, each names something unique. Here is the explanation of what they are.
privkey.pem: the private key for your certificate.
fullchain.pem: the certificate file used in most server software.
chain.pem: used for OCSP stapling in Nginx >=1.3.7.
cert.pem: will break many server configurations, and should not be used
without reading further documentation (see link below).WARNING: DO NOT MOVE OR RENAME THESE FILES!
Certbot expects these files to remain in this location in order
to function properly!We recommend not moving these files. For more information, see the Certbot
User Guide at User Guide — Certbot 2.12.0.dev0 documentation.
OK, so now we have the certs, time to head to the UMS to begin the process of actually installing ICG
In UMS go to UMS Administration, Cloud Gateway Options. Here are we are going to import our root certificate from the certs we just downloaded by clicking on this icon in the top right.
![]()
The first cert we need is chain.pem, so let’s import that.
OK, that looks good. We now need to right click on that certificate and choose
Import Signed Certificate
We then browse to the certificate location and choose cert.pem
Our cert chain should now look like this.
The final step in the certificate process is to import the decrypted private key. So right click on the cert, and choose
Import Decrypted Private Key
We are going to choose privkey.pem
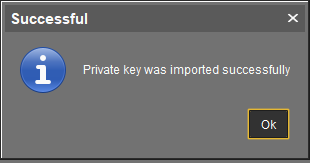
Now we are ready to export the keystore.icg file that the ICG appliance really needs. We need to right click on the certificate and choose
Export certificate chain to IGEL Cloud Gateway key store format
Save the cert somewhere that it is easy to locate, as we will need it shortly.
We now need to navigate to UMS Administration and chose IGEL Cloud Gateway and choose
Install new IGEL Cloudgateway
If you see something similar to the below, then you are on the right track.
Click next to continue
Accept the IGEL license agreement
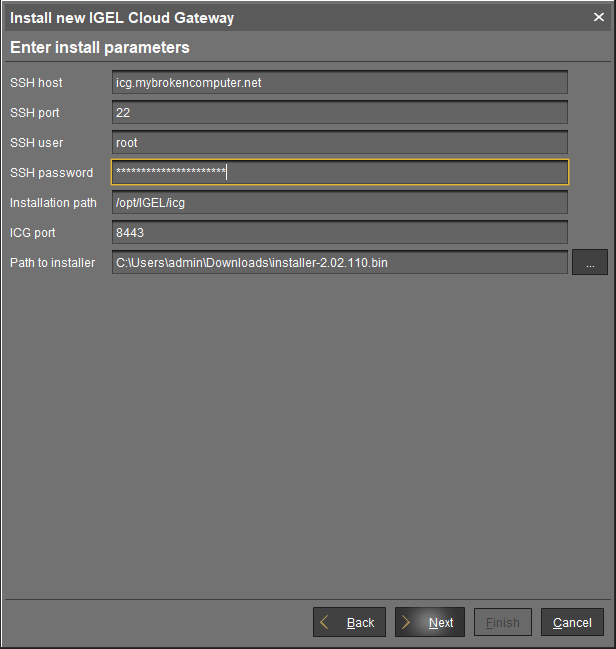
Now we need to provide credentials to our ICG server, and the path to the .bin file that we downloaded earlier.
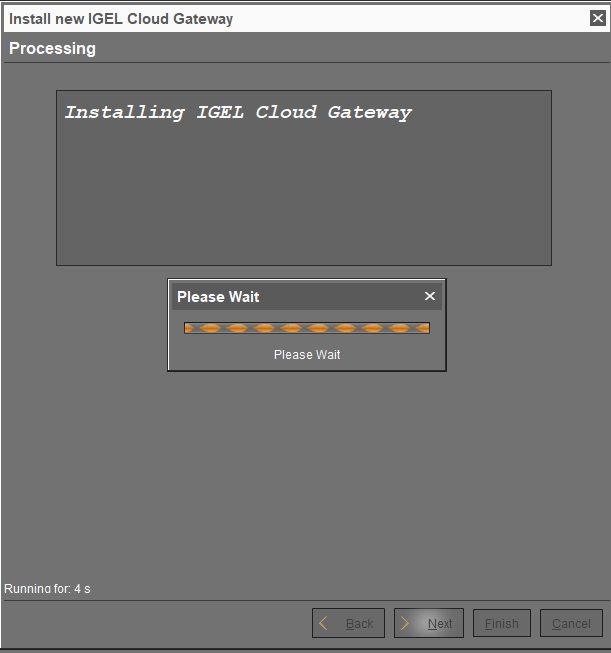
Hit next, and we are off to the races!
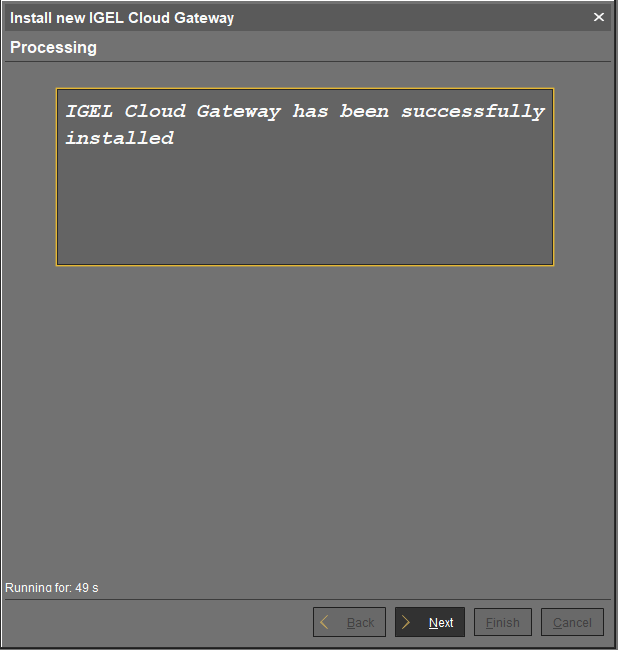
49 seconds! Not bad.
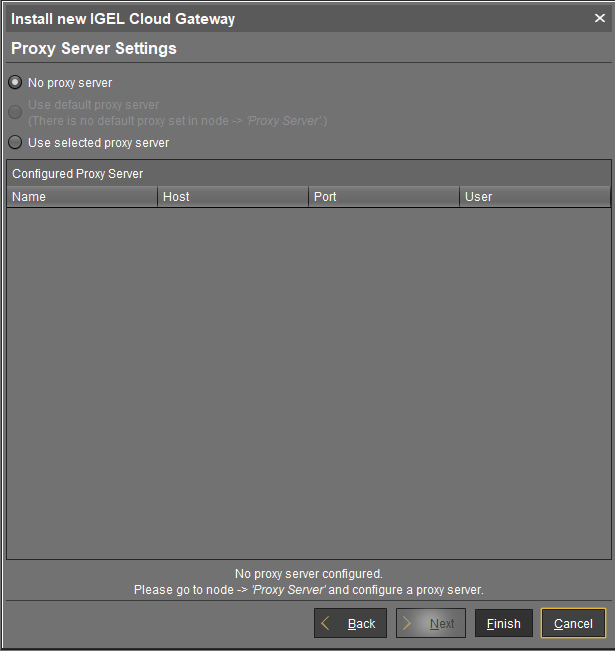
Configure a proxy server if you have one.
After all that, we are done!


