Right now it seems that everyone is talking about Microsoft Teams, and how it is poised to be a Slack killer. It kind of makes sense, as most enterprise customers are leveraging Office 365, or plan to leverage Office 365 in the future. This means that they are already (or will soon be) licensed for Microsoft Teams. With that being said, it no longer makes sense for organizations to shell out money for Slack when Microsoft Teams is “free”.
That’s great and all, but Microsoft Teams is a Windows app, so what has that go to do with IGEL OS? Well, with relatively new leadership within Microsoft, Linux is now a supported OS for some crucial enterprise applications (SQL for one!), including Microsoft Teams. So - how do get the application running on IGEL OS v11?
There are a couple of things you need right off the bat.
- An Enterprise license for IGEL OS also called the Enterprise Management Pack (EMP). The reason that you need this is, so we can access the Custom Partition (CP) functionality of the IGEL operating system. There is a pretty strong rumor (not sure if it has been confirmed), that CP will no longer require an Enterprise Management Pack in IGEL OS v11.04 (due out before May 2020). This is big news. EDIT - custom partitions are now available in IGEL firmware 11.3.500.
- The actual Microsoft Teams application for IGEL Linux. This is available to all customers who have an active support agreement with IGEL. To get the package, open a support ticket with IGEL support, and they will provide you with a Sharefile link to download the application.
So, now that we have the prerequisites out of the way, how do we actually install Microsoft Teams? Well - it’s pretty simple, but there are a few gotcha’s you need to watch out for as you proceed with the install. You absolutely need to know the FQDN of your ums_filetransfer directory, as that is where the thin client will pull down the files needed for the installation, along with the configuration of the application. This is true for all Custom Partition applications and not just Microsoft Teams. Now that you know the FQDN (it should look something like this https://hostname.com:8443/ums_filetransfer). To test that this is the correct path, try to load the URL into a browser, and login when prompted. If successful, you will see a page like this listing the contents of the directory.
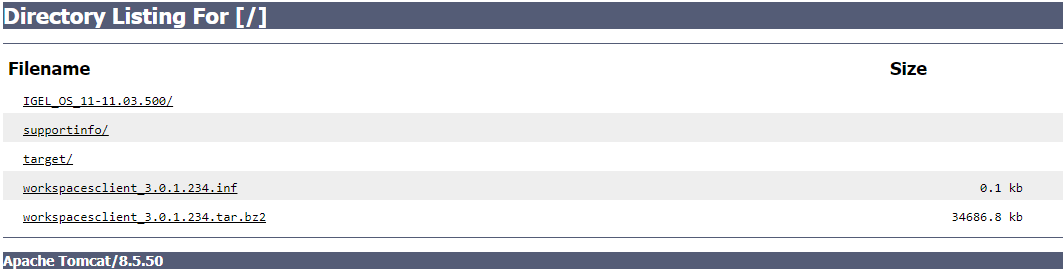
As you can see, there is no mention of Microsoft Teams, that is because we have not imported any of the Teams Custom Partition yet. So let’s do that. Here are the steps we need to follow.
- Login to UMS, and click on the file explorer window.
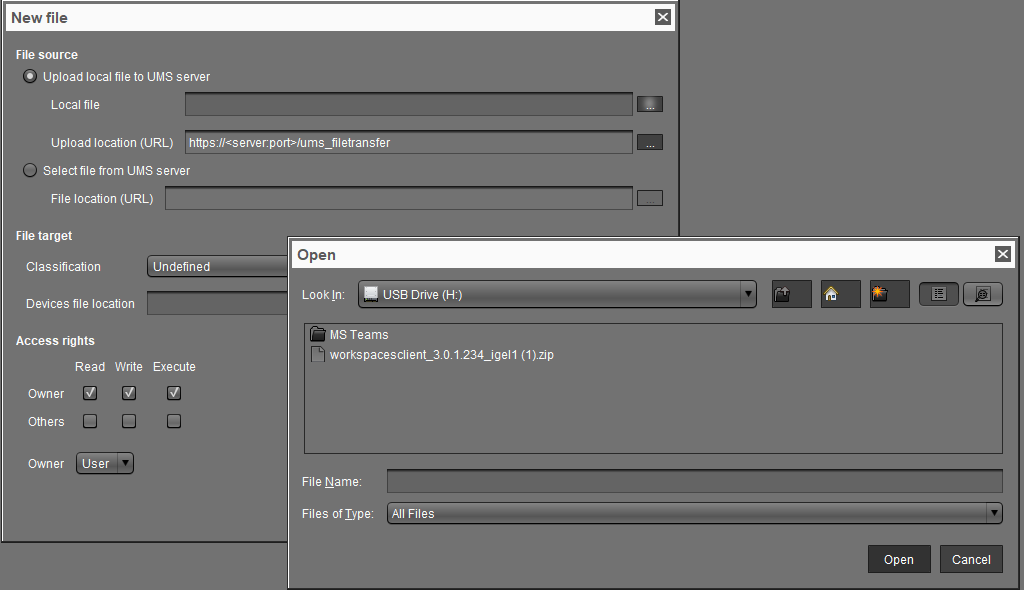
- Right click on the file explore window and choose new file. This will bring up the file upload window. We are going to upload a local file, so we click on the browse icon (the three dots - if anyone knows what that is called, please comment below).
- Browse to the location where you have saved your Microsoft Teams Custom Partition. We need to upload two files. Microsoft_Teams.inf and Teams.tar.bz2 Once they have been uploaded, your file directory in UMS should look something like this.

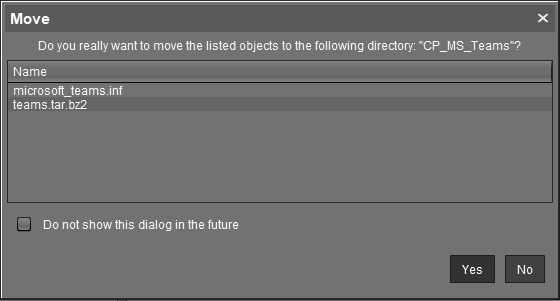
- I like to keep my UMS as clean as possible, so at this point, I will create a directory within the file explorer to store my custom partition files. Right click on Files, and choose new directory. I will call it CP_MS_Teams. Once created, drag microsoft_teams.inf and teams.tar.bz2 to the CP_MS_Teams directory. This step is %100 optional, but everyone likes a clean UMS. Right. Right??
Now your files explorer should look like this.

Much cleaner! - Now we need to verify that the files are accessible via HTTPS. We this by once again by browsing to the ums_filetransfer folder. As you can see from the screenshot, the Microsoft Teams files are available.

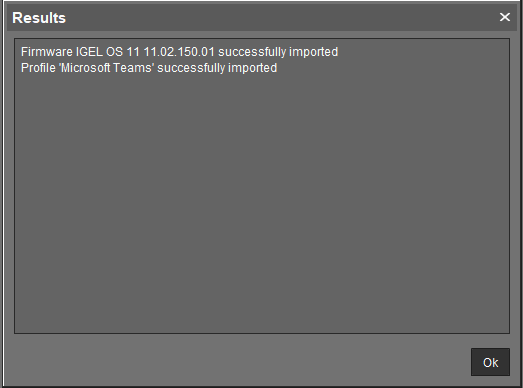
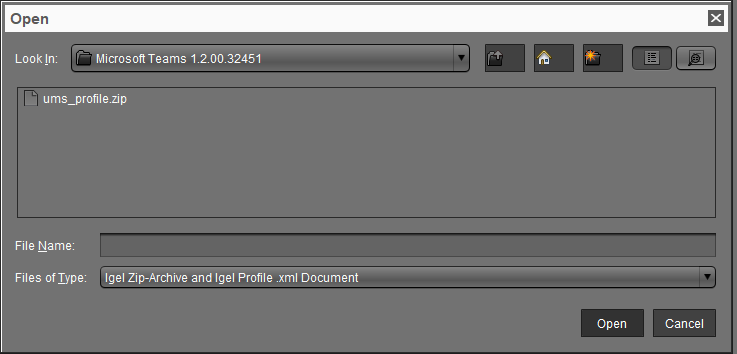
- Now we have to get on with importing the actual configuration of the custom partition as a profile. In UMS, click on System, Import, Import Profile. This brings up an “open” window where you can browse to your CP. The profile is delivered as a file called ums_profile.zip

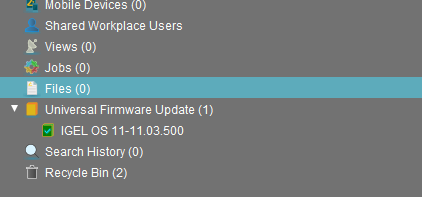
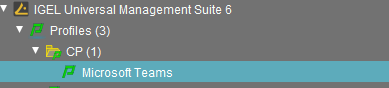
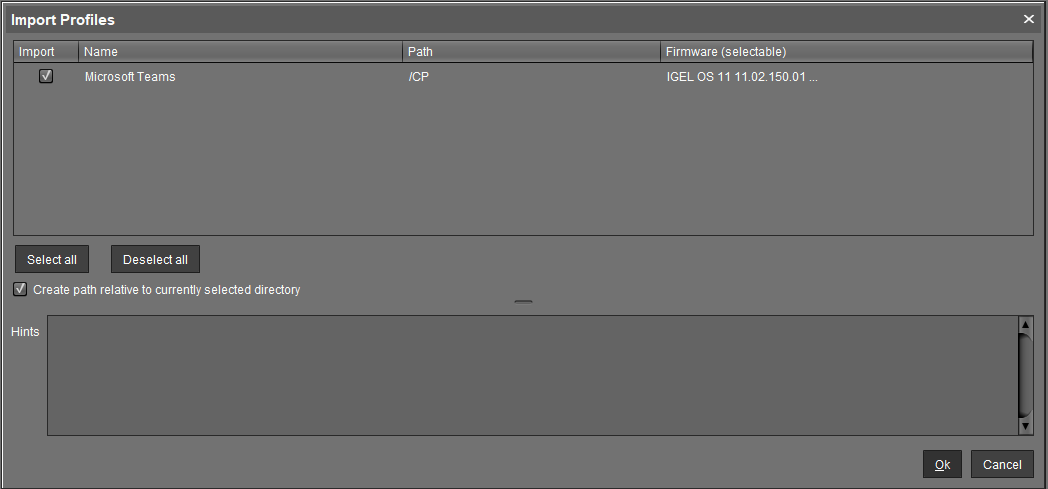
You should now see the Microsoft Teams Custom Partition in your yourfiles within UMS.
- We now need to configure the profile to match our configuration. I first like to change the “based on” configuration to the IGEL OS firmware version that I will be deploying. In my case this will be 11.03.500.
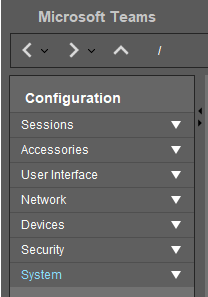
To do this, double click on the Mirosoft Teams Profile to bring up the profile configuration window. As you can see from the screen shot below, we only need to configure the “System” component of the profile.
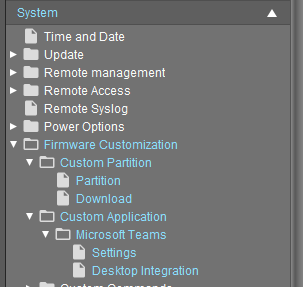
- The first change we need to make in the profile is in the /Firmware Customization/ Custom Partition/ Download area. We need to edit the Partition Data Source to point to our UMS. Out of the box it looks like this.
To edit this, click onthe partition data source, and click the pencil icon, and enter the details for your UMS environment.
- That’s it. Save your profile and apply it to a thin client. Here is what the deployment looks like “live”.


Let me know if you run into any issues getting this to run as expected.