Today is a big day in the backup world, as Veeam has released Veeam Backup and Recovery version 11. In this blog post, we are going to walk you through the process of installing and configuring the software.
The first thing you are going to need to do is to download the actual bits, which is delivered in a massive 6.3GB ISO file.
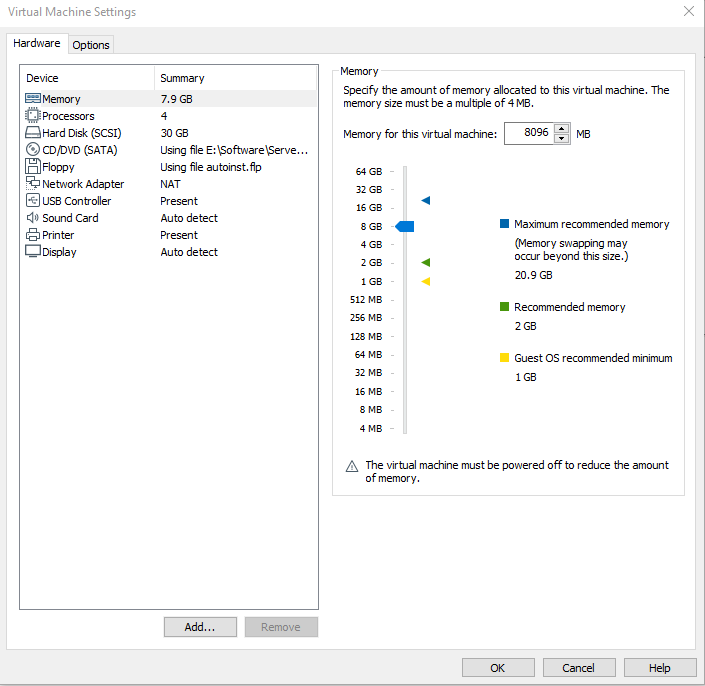
I think the Veeam servers are being hit pretty hard today, as it took me almost 45 minutes to download the software on my 500mbit connection. As I am going to be installing Veeam Backup and Recovery v11 in a virtual machine in my home lab (using VMWare Workstation Pro), I need to mount the Veeam ISO to my running instance of Server 2019 Standard (Desktop Experience). To accomplish this we need to edit the configuration of the virtual machine. Within the VMWare Workstation Pro console, right click on your Veeam Backup and Recovery server, and choose settings.
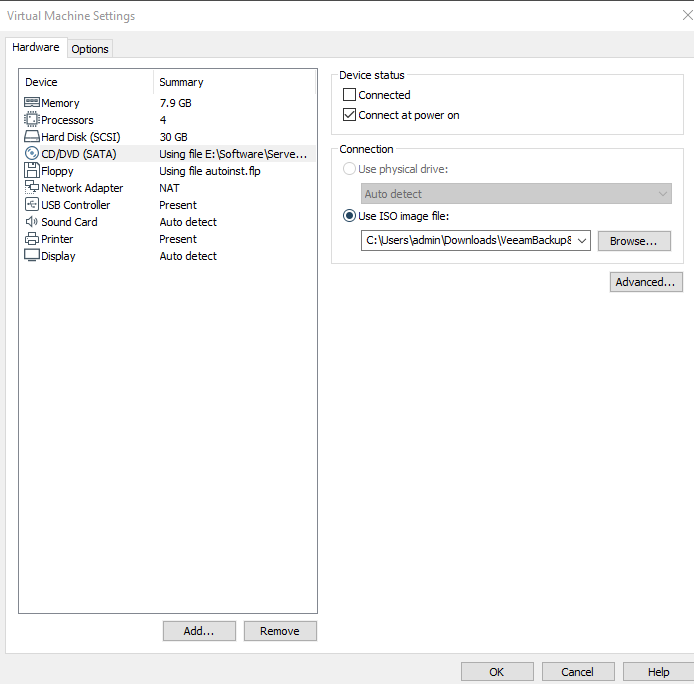
From here, we need to select the CD/DVD (SATA) option, and point it at the Veeam ISO that you downloaded earlier.
Be sure to select the ‘Connected’ Option under the device status, or the ISO will not mount until the system is rebooted. We are much too impatient, so we want it connected now.
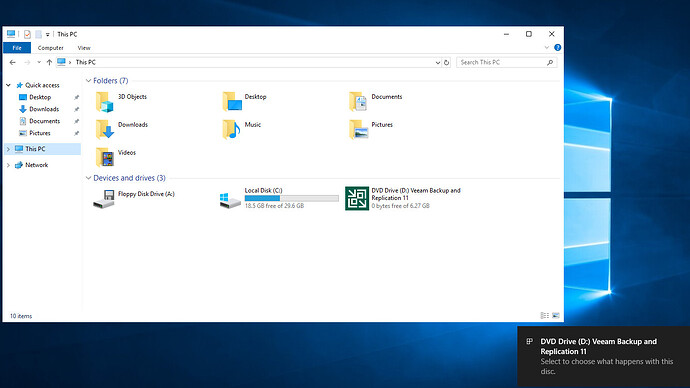
After hitting OK, the software will automagically mount as a drive within the server operating system.
Now that Server 2019 knows about the Veeam ISO, we can double cick on the D drive in my case (it might be different for you, so click on the icon that looks like the one below in Windows Explorer.
![]()
And here we go!
In my case, we are interested in installing the whole shooting match, as this is for a lab, so we are going to click on the main install button in the middle of the screen. Then we wait.

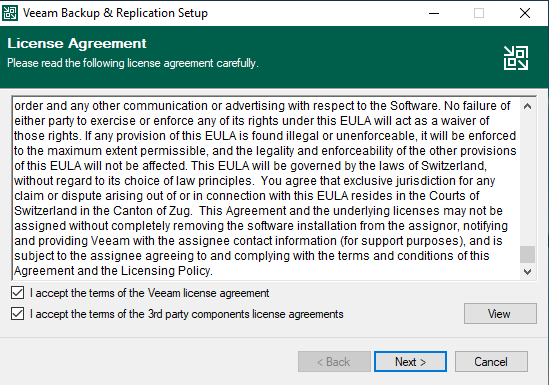
The lawyers need to get paid, so we need to accept the EULA. The EULA is 2013 words long, so if you wanna go read all of it, I will wait. For everyone else, let’s accept the agreement and crack on.
The next screen is asking for a license file, as I am installing this in a lab, I don’t have a license file, so I am just going to proceed with installing the community edition.
Now, we need to chose what components we are going to be installing, I am going to take the default, and install them all. For the curious folks out there who want to know what each component is for, here is a quick breakdown.
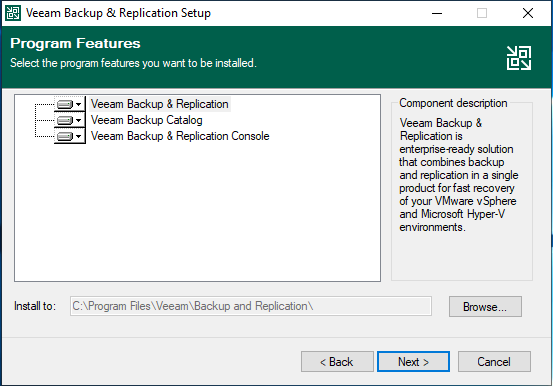
Veeam Backup & Replication: Veeam Backup & Replication is an enterprise-ready solution that combines backup and replication in a single product for fast recovery of your VMWare vSphere and Microsoft Hyper-V Environments.
Veeam Backup Catalog: Veeam Backup Catalog components
Veeam Backup & Replication Console: User interface client for local and remote backup servers.
Onwards, hit that next key to continue.
Oh oh… Not responding??
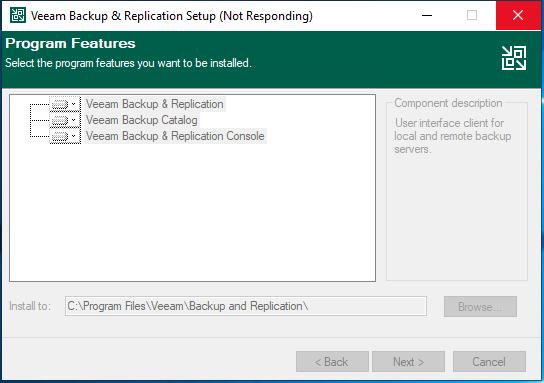
I let it hang for a few seconds (15-20), and it eventually moved on in the install process. We now get to the System Configuration Check, where my bare bones server failed miserably. Luckily, Veeam offers to install the missing components, which I am going to install by clicking on the Install button
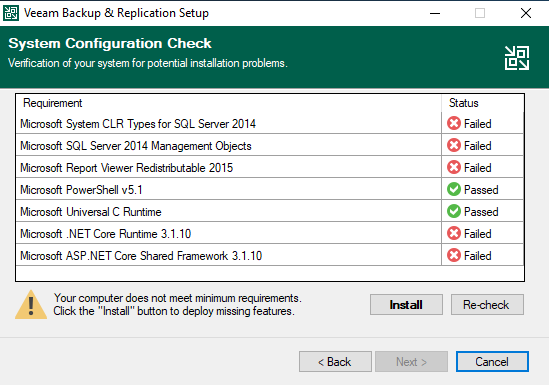
Time to Enable the missing features.
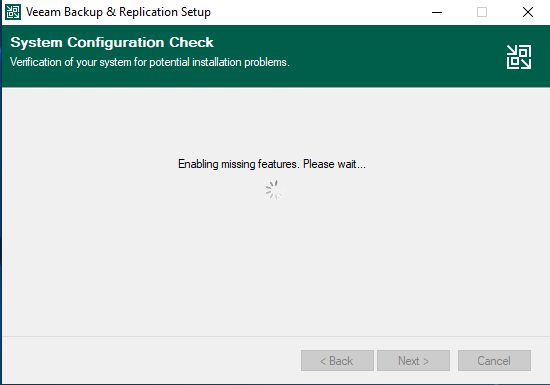
After about 45 seconds, we are back baby!
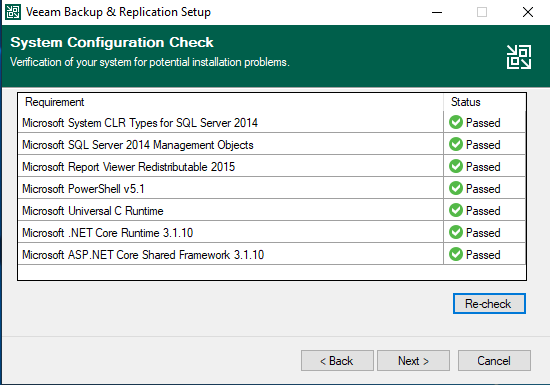
Hit next to proceed, and to configure the application. As this is a lab, we are going to take all of the default settings.
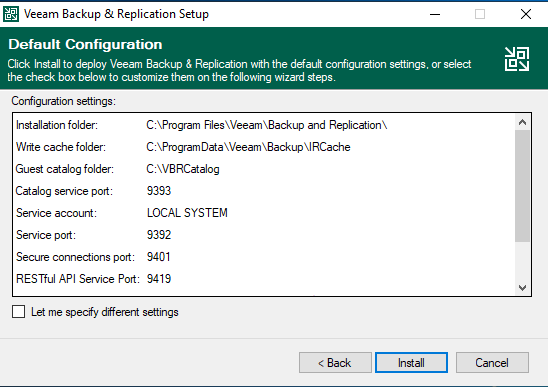
SEND IT!!
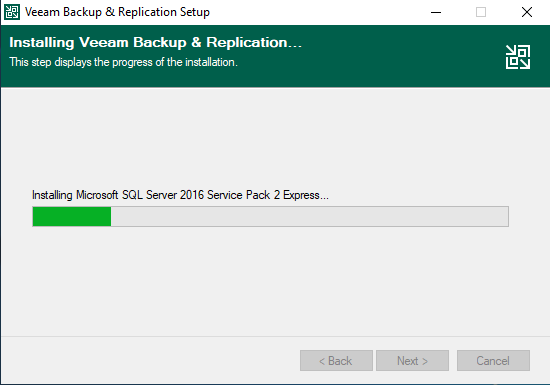

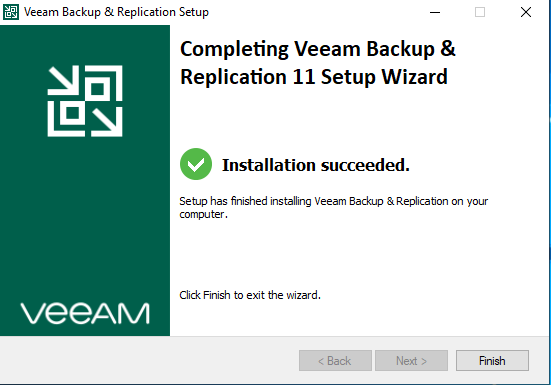
If all goes as planned during the installation, you should see this happy green checkmark.
Now, you should have an icon on your desktop for the Veeam Backup & Replication Console.
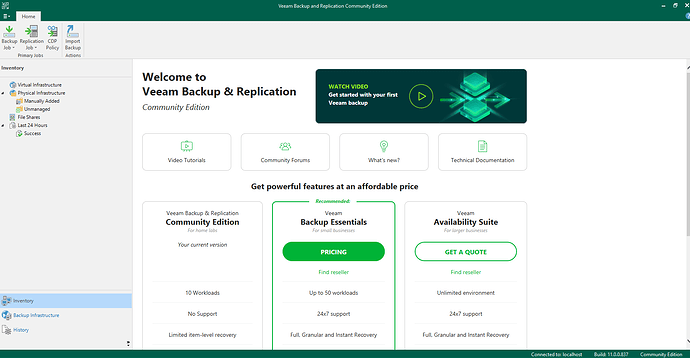
Fire that bad boy up by double clicking on it.
You are then prompted to login. As this is not a domain joined machine, we are going to use local windows authentication. So hit connect on this screen.

And that’s it.
If there is enough demand, I can create a follow up blog on how to use the features that were introduced in V11.

